Table of Contents
ToggleSetting up security cameras isn’t just for paranoia anymore, it’s practical home protection. A security camera warehouse gives you access to bulk pricing, wider selection, and often better deals than retail chains. Whether you’re protecting a single-story house, a multi-unit property, or just want to keep an eye on your front porch, warehouse retailers stock systems designed for DIY installation. This guide walks you through what’s actually available, what features matter, and how to set up a system that fits your home and budget without paying contractor prices.
Key Takeaways
- A security camera warehouse offers DIY homeowners bulk pricing, wider selection, and return policies, allowing you to own your system instead of renting professional installation service contracts.
- Choose between wired systems (reliable constant power, offline recording) and wireless systems (fast setup, WiFi-dependent), based on your home layout and internet reliability.
- Invest in minimum 1080p (2MP) resolution and 30 fps frame rate for readable faces and license plates; 4MP is worth the extra cost for driveways and parking lot monitoring.
- Calculate local storage needs first: one outdoor camera recording 24/7 at 1080p uses 4–6 GB daily, making local backup cheaper long-term than recurring cloud subscription fees.
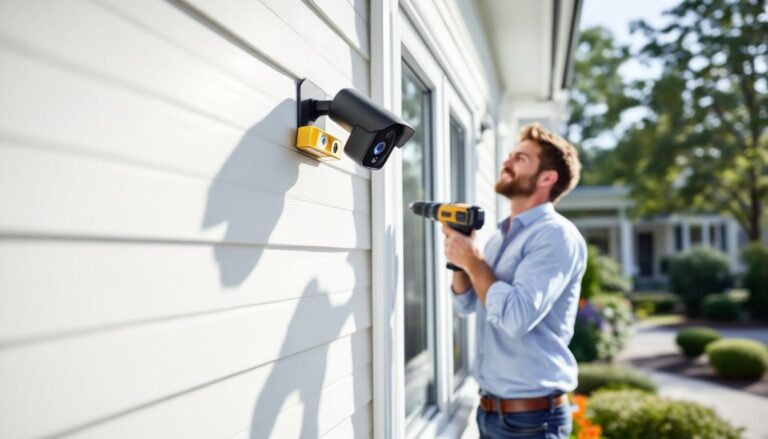
- Mount outdoor cameras 8–10 feet high at a 15–30 degree downward angle, and test WiFi signal strength before final mounting to avoid performance issues with wireless systems.
- Mid-range warehouse brands like Reolink, eufy, and Wyze offer strong community support and parts availability, while avoiding premium gimmicks like facial recognition that rarely perform reliably on budget systems.
Why Security Camera Warehouses Matter for DIY Home Security
Warehouse retailers, think big-box stores that sell in bulk, stock security cameras because homeowners are serious about DIY installation. You skip the markup of local security companies and avoid the contract lock-in. Most warehouse systems are designed with homeowners in mind: plug-and-play wireless options, smartphone apps for remote viewing, and straightforward wiring for permanent setups.
The real advantage? You’re not paying for a technician to run wire through your walls or mount cameras at professional angles. Many warehouses offer return policies, so you can test a system in your setup before committing. Plus, when something fails in year three, you replace a camera module, not the entire $3,000 professional system. It’s the difference between owning your security and renting it from a company that profits when you need service calls.
Types of Security Cameras Available Through Warehouse Retailers
Wired vs. Wireless Systems
Wireless cameras use Wi-Fi or proprietary radio signals to send video to a hub or cloud service. Setup is fast, mount the camera, connect to your network, open the app. The trade-off: batteries need regular replacement (or charging), and signal strength matters. If your garage is 80 feet from the router with two concrete walls between them, a wireless camera may buffer or disconnect. Wireless systems also depend on your internet reliability: if your ISP goes down, you lose real-time alerts.
Wired systems run Cat5e or Cat6 cable (the same stuff as Ethernet) and power through the same line or separate 12V DC power supplies. Setup takes longer, you’ll drill holes, run wire, possibly fish cable through walls, but you get reliable, constant power and no dead batteries at 2 a.m. Wired systems work even if the internet drops (local recording to a DVR). The downside: installation is messier, and moving a camera later means patching drywall.
Indoor and Outdoor Options
Outdoor cameras are rated IP65 or higher, meaning they resist dust and water spray. They mount on soffits, fascia, or corner brackets and point down at driveways, patios, or entry points. Look for models with IR (infrared) night vision rated 20–100 feet: it’s standard and inexpensive. Many outdoor models include a 3.6 mm lens (wide field of view) or zoom options for tighter angles.
Indoor cameras are smaller, often 1080p or 4MP, and designed for living spaces. They’re lighter, don’t need IP ratings, and work fine indoors where light is more controlled. Use them for nurseries, garages, basements, or to monitor package deliveries on shelves near windows. Compact indoor cameras often sit on shelves or mount to walls with simple brackets.
Key Features to Look for When Buying From a Warehouse
Resolution and frame rate matter more than flashy extras. 1080p (2MP) is the baseline for readable faces and license plates from 15–20 feet away. 4MP (2560 × 1920) is sharper and worth the extra cost if you’re recording driveways or parking lots. Frame rate should be at least 30 fps (frames per second) for smooth motion: anything lower feels choppy and useless for identifying movement.
Storage options are crucial. Cloud storage is convenient but recurring (usually $5–15 per camera per month). Local storage, a DVR, NVR, or SD card in the camera, costs upfront but has no monthly fee and works offline. Most warehouses stock hybrid systems that do both. Calculate your needs: one outdoor camera recording 24/7 at 1080p uses roughly 4–6 GB per day. A 2TB hard drive holds about 60 days of footage.
Night vision range and color night vision (lower-light color footage instead of black-and-white IR) are worth comparing. True color at night requires more sensitive sensors and better lenses, so it costs more. For most homes, traditional IR night vision with 30–50 feet range is adequate.
Two-way audio lets you speak through the camera (handy for scaring off package thieves or talking to delivery drivers). Motion detection and smart alerts filter false alarms from passing cars or tree branches: look for systems that let you set detection zones and adjust sensitivity. Weathering and durability ratings for outdoor cameras should mention operating temperature ranges, important if you live in climates with extreme heat or cold.
Reviews from sources like Tom’s Guide and CNET often test these features side-by-side, giving real-world performance data beyond manufacturer specs.
Installation and Setup Basics for Homeowners
Before you buy, measure distances. For wireless systems, place the hub centrally: if cameras are more than 100 feet away or through thick walls, test range before committing. For wired systems, map where you want cameras and estimate cable runs. A typical run from hub to an outdoor corner might need 50–75 feet of Cat6 cable.
Tools you’ll need: a cordless drill (for mounting brackets), a fish tape or stud finder (if running wire through walls), a voltage tester (for any 12V power wiring), basic hand tools (screwdriver, wire strippers for wired systems), and safety gear (gloves, eye protection when drilling overhead).
Mounting height and angle affect image quality. Mount outdoor cameras 8–10 feet high and angle downward 15–30 degrees to capture faces and license plates clearly. Avoid pointing directly at light sources or windows: backlit footage is useless. Indoor cameras on shelves or wall mounts should be high enough to overlook common sight lines.
Wired installation involves running cable to cameras and a central hub or DVR. Most modern systems use passive PoE (Power over Ethernet), meaning one cable carries video and power. Drill through eaves carefully to avoid hitting existing wiring or plumbing. Use weatherproof conduit or cable clips to protect exposed runs. For walls, fish cable along studs if possible: patching holes is a small price for clean wire runs.
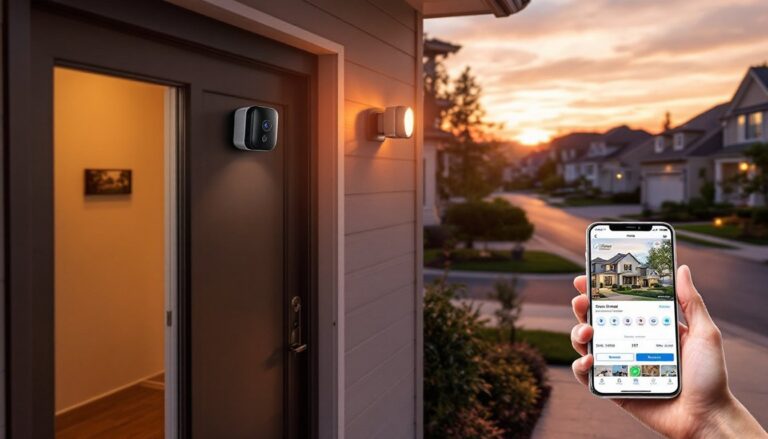
Wireless setup is simpler: mount the camera, power it on, and join it to your network via the app. Test Wi-Fi strength at the camera location using your phone’s Wi-Fi analyzer app before final mounting. Avoid 2.4 GHz bands if your neighborhood is crowded with routers: many modern systems default to 5 GHz for lower interference.
Initial configuration requires setting motion detection zones, recording schedules, and cloud backup (if desired). Most systems let you draw zones on the app, blocking false alerts from streetlights or passing traffic. Set sensitivity to medium initially, then adjust based on what you actually see in motion logs over a week.
Cost Considerations and Value for Your Budget
A basic two-camera wireless system from a warehouse typically runs $150–$300 for cameras and hub. Four-camera wired systems with DVR and hard drive are often $300–$600. Professional installation adds $500–$1,500 depending on wire runs and complexity, the reason DIY makes sense for most homes.
Don’t underbuy resolution or frame rate to save $50. A blurry 480p camera is worse than no camera: you’ll never identify anyone useful. Spend the extra cash on 4MP and 30 fps minimum if you’re serious about deterrence and evidence.
Monthly cloud costs compound. A three-camera system at $5 per camera per month is $180 yearly, enough to buy a 2TB NAS or external drive for local backup every three years. If you plan long-term, local storage is cheaper. Many warehouse systems bundle hard drives or NAS options.
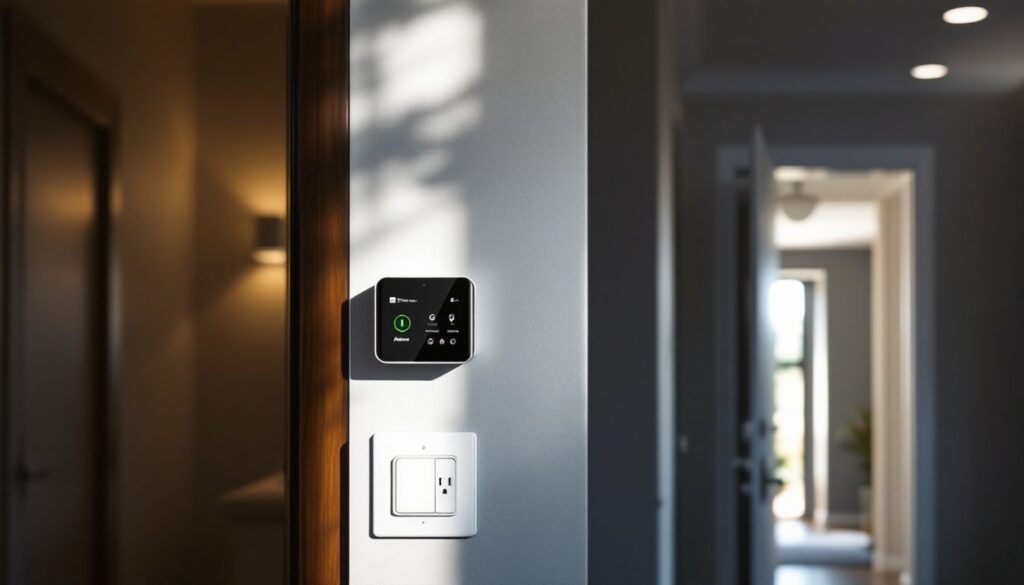
Warehouse pricing advantages shrink for premium brands but hold strong for mid-range systems (Reolink, eufy, Wyze, and older Lorex models often have solid warehouse inventory). Established platforms like the Lorex Smart Home network integrate well with DIY smart home setups and have strong community support and parts availability.
Check return policies, they’re often 30–60 days for electronics. Test your system in live conditions. If a camera doesn’t cover the angle you need or Wi-Fi cuts out, swap it within the return window. Avoid impulse buys on the latest gimmick (facial recognition, license plate readers) unless you specifically need them: they rarely work as advertised on budget systems and introduce privacy questions for homeowners.