Table of Contents
ToggleHome security isn’t just about expensive equipment gathering dust in a corner, it’s about peace of mind and real protection when you need it. A home defender security system gives homeowners concrete control over their property’s safety, whether they’re asleep upstairs or away on vacation. In 2026, security has gotten smarter, more affordable, and more flexible than ever before. Whether you’re considering a full professional installation or a DIY setup, understanding what a modern security system actually does, and what it doesn’t, helps you make the right choice for your home and family.
Key Takeaways
- A home defender security system combines wireless sensors, a control hub, and optional professional monitoring to detect unauthorized entry 24/7 with real-time smartphone alerts.
- Entry point sensors on doors and windows should be your priority, followed by motion detection in common areas and glass break sensors for large windows or sliding doors.
- Professional monitoring costs $10–$25 monthly and ensures police dispatch even when you’re unavailable, while self-monitoring saves money but puts response responsibility on you.
- Proper DIY installation requires identifying all entry points, placing the hub centrally near your WiFi router, and testing each sensor immediately after mounting to ensure accurate detection.
- Layer your home defender security system with physical defenses like reinforced door frames, external lighting, and solid locks to create real barriers against intruders.
- Use geofencing and automations strategically—such as triggering lights on motion after dark and auto-arming when everyone leaves—to reduce forgotten activations and boost system effectiveness.
What Is a Home Defender Security System?
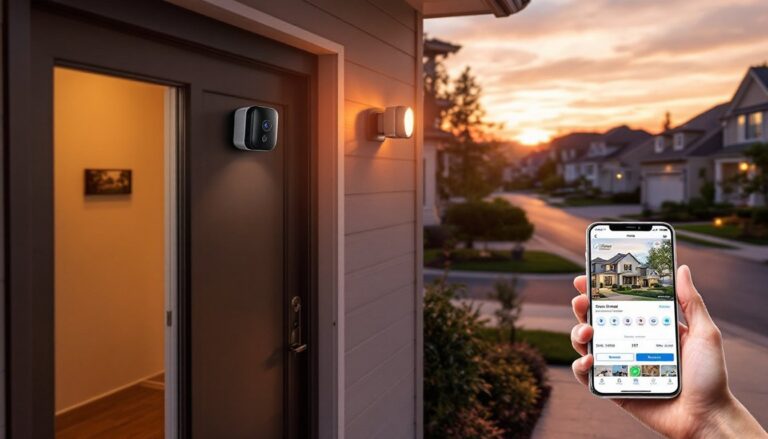
A home defender security system is a coordinated network of sensors, a control hub, and monitoring services (optional) designed to detect unauthorized entry and alert you or authorities. Think of it as the digital equivalent of locking every door and window, but with eyes and ears that work 24/7.
The core job is simple: sensors detect movement, open doors or windows, and glass breaks, then trigger an alarm and send alerts to your phone. The system communicates through your home’s WiFi or cellular backup, so a dead internet connection won’t leave you defenseless.
Modern systems differ from older hardwired setups in crucial ways. Wireless sensors mean no running cables through walls, a major advantage for renters and DIYers. Battery backup on hubs and sensors means the system keeps functioning during power outages. And smartphone integration puts real-time alerts in your pocket, not just a siren at your property.
Key Features and Components to Look For
When evaluating a home defender system, focus on what actually matters for your lifestyle and property layout.
Entry point sensors are your first line of defense. Door and window sensors trigger instantly when opened, and quality units from brands like Lorex or Ring come with magnetic contacts (the sensor detects when magnet separates from the contact) rated for doors that see heavy use. Check the sensor’s rated opening times, some budget models lag by a full second, which matters if someone’s trying to enter quickly.
Motion sensors work best in common areas like living rooms and hallways, not bedrooms where you’ll walk at night. Passive infrared (PIR) sensors detect heat signatures and typically have a 30-foot range with adjustable sensitivity. Dual-tech sensors add a second verification method (microwave or vibration) to reduce false alarms from pets or wind-blown curtains, valuable if you’ve got a curious dog roaming the house.
Glass break sensors aren’t standard on budget systems, but they’re worth adding if you have large windows or sliding glass doors. These acoustic sensors listen for the specific frequency of breaking glass and ignore normal tapping.
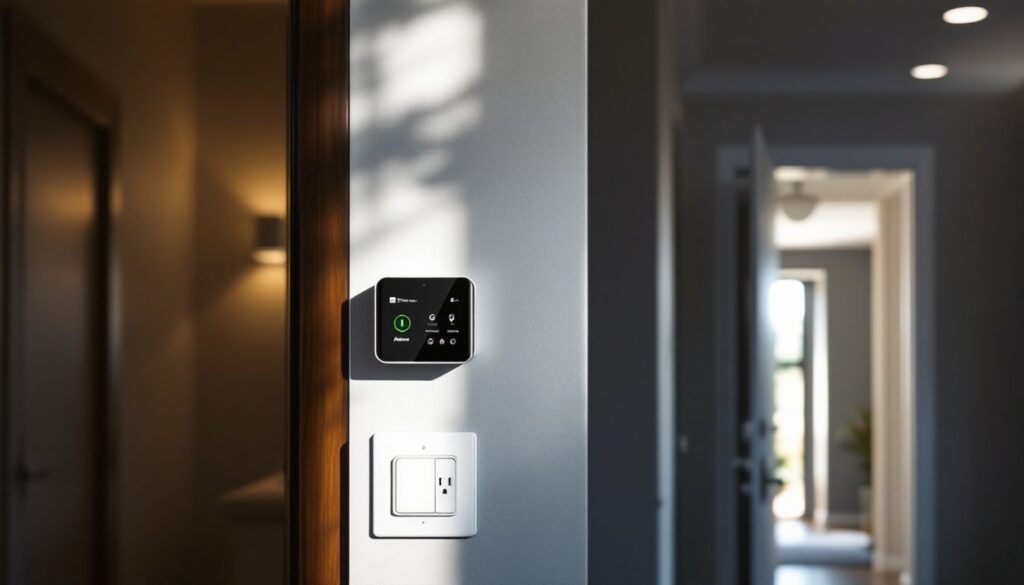
The control hub is the system’s brain, it processes sensor signals, manages automations, and communicates with the outside world. Look for hubs with built-in cellular backup (not WiFi-only), since your broadband provider could go down during an emergency. Battery backup should last at least 24 hours: some hubs offer 48-hour rated batteries.
Smart Sensors and Monitoring Technology
Integrated cameras (doorbell and interior varieties) add visual confirmation that an alarm isn’t a false alert. A doorbell camera lets you see who’s at your door before answering: interior cameras serve double duty as deterrents and evidence if a break-in occurs. Look for night vision capabilities and 1080p minimum resolution, grainy footage is nearly useless for identification.
Environmental sensors detect smoke, carbon monoxide, and water leaks, threats that aren’t security-related but matter just as much. These integrate into the same app and alert system, so you get unified protection.
Automation features let your system work smarter. Lights can trigger when motion is detected after dark, door locks can unlock for emergency responders, and the system can disarm automatically when your phone enters your home’s geofence. Homeowners often overlook automation, but it transforms a security system from reactive (alarm goes off, you respond) to proactive (threats are discouraged before they happen).
When shopping, verify compatibility. A Ring Home Security Kit works seamlessly with Ring doorbells and Amazon smart home devices: Lorex systems integrate tightly with their own ecosystem: SimpliSafe, Abode, and Wyze prioritize third-party compatibility. Don’t assume everything connects, check the manufacturer’s compatibility matrix before buying.
Professional Monitoring vs. Self-Monitoring: Which Is Right for You?
This choice shapes how your system responds to an alarm, and it deserves serious thought.
Professional monitoring means a trained operator verifies the alarm and dispatches police if needed. You pay a monthly fee (typically $10–$25 per month, varying by region and service tier), but emergency response doesn’t depend on you being available or calm. If you’re at work, sleeping, or in a confrontation, the monitoring center handles the call to 911. This matters legally in many jurisdictions, police response times are faster when a professional reports a verified break-in versus a homeowner’s frantic call.
Self-monitoring sends alerts to your phone only. You verify the alarm is genuine and call 911 yourself. No monthly fee, but you’re on the hook for the response decision. If you’re asleep, traveling, or in a dangerous situation, that burden falls on you. Some homeowners pair self-monitoring with a loud siren (105+ decibels) that forces intruders to leave before police arrive, effective, but only if you want your neighborhood hearing a prolonged alarm.
A hybrid approach works well: use professional monitoring for overnight (when you can’t respond) and self-monitoring during the day to save money. Many providers let you switch easily. The best DIY home security systems support both options, giving you flexibility to change your mind later. Cost and personal preference drive this decision, there’s no wrong answer, only the one that fits your risk tolerance and budget.
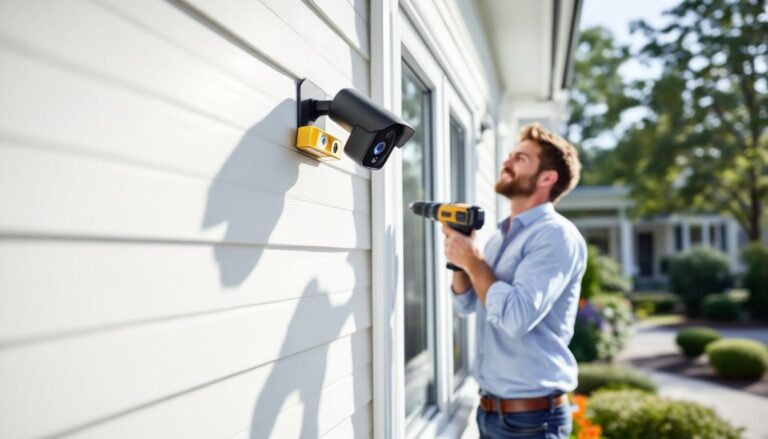
Installation and Setup Tips for DIY Homeowners
Installing your own system saves labor costs (sometimes $500+) and gives you full control over placement. Here’s how to avoid common pitfalls.
Site survey first. Walk your property and identify every entry point, doors, windows, garage, basement hatches, pet doors. Mark them on a floor plan. Note which doors are used daily (install sensors here first) and which are rarely opened (lower priority, but don’t skip them). This survey prevents the frustrating midproject realization that you’ve missed a window.
Plan your hub location carefully. The control hub is the most critical placement decision. Mount it centrally on a wall near an outlet and your WiFi router, but away from microwave ovens, cordless phones, or baby monitors (they interfere with wireless signals). Aim for waist height so you can reach it easily, and keep it accessible for battery changes and reset buttons.
Sensor placement matters more than most DIYers expect. On doors, mount the magnetic contact on the door frame and the sensor on the door itself (or vice versa), aligned vertically so the magnet sits snug against the contact. A gap larger than 1 inch causes missed detections. On windows, top of frame works best, intruders can’t bypass a sensor there without obvious damage. Test each sensor after mounting by opening the door or window: the hub should chime and the app should alert instantly.
Network connectivity is non-negotiable. A weak WiFi signal means delayed alerts or complete dropout. Run a residential security system speed test on your phone at the hub’s planned location using a free app, aim for at least 5 Mbps download. If signal is weak, consider a mesh WiFi system or moving the hub closer to your router. Some hubs (like Lorex’s) support cellular backup, which eliminates WiFi dependency entirely.
Smartphone setup requires attention. Download the system’s app before installing hardware, create your account, and update the app to the latest version. During installation, the system will prompt you to add authorized users (family members, contractors, emergency contacts). Set notification preferences now, you don’t want alerts at 3 AM for motion in your driveway caused by a raccoon.
Test everything after setup. Trigger each sensor manually. Open a door, does the app notify within 2 seconds? Trigger motion detection, does it activate the camera? Test the panic button. Verify that the siren works at full volume. Run a test alarm with your monitoring center (if using professional monitoring). Most false alarms happen during first few days: testing catches these before they’re embarrassing.
Maximizing Your System’s Effectiveness
A security system is only as good as the habits and planning behind it. Here’s how to get real value from your investment.
Don’t advertise your system. Yes, security company signs and window stickers deter casual burglars, but they also tell thieves what to defeat. Skip the marketing decals and let intruders discover the system the hard way, by triggering it. Pet-friendly security systems and other modern setups are designed to work quietly in the background.
Layer your defenses. A camera without a good lock is theater. Solid doors with reinforced frames (the strike plate should anchor into the framing, not just drywall) combined with a security system create real barriers. External lighting around entry points makes intruders uncomfortable. Door and window locks that actually engage matter. A home defender security system amplifies these physical defenses, it doesn’t replace them.
Use geofencing and automations strategically. Have lights trigger when motion is detected after sunset, and have them turn off at dawn. Set the system to arm automatically when everyone leaves the house (geofence), and disarm when the first person returns. Some homeowners program a “Welcome Home” scene that unlocks the front door and turns on entry lights. These automations reduce the chance you’ll forget to arm the system, which is the #1 reason alarms fail.
Maintain sensor batteries and test quarterly. Wireless sensors run on batteries: cheap systems drain them in 6 months, good ones in 2 years. Add a calendar reminder to test each sensor twice a year. Low battery warnings appear in your app, but testing confirms sensors still work after months of no activity.
Review footage regularly. Don’t assume cameras are just insurance: watch them occasionally. You might spot a neighbor’s kid cutting across your lawn, or notice a delivery person left a package in the rain. Regular review also helps you adjust camera angles and sensitivity settings.
Know your false alarm policy. Most police departments now charge fines ($100–$300) for multiple false alarms per year. Professional monitoring centers reduce false alarms by verifying before dispatching. If you self-monitor, be deliberate about calling 911, verify a real threat exists first.
Conclusion
A home defender security system works best when it combines smart technology with solid habits and realistic expectations. Choose equipment that fits your property layout and lifestyle, install it properly so sensors don’t miss threats, and use automations to make the system part of your routine rather than a chore. Whether you go with professional monitoring for the guarantee of fast police response or self-monitoring to save money, the key is picking an option you’ll actually maintain. Start with entry points (doors, windows), add motion and camera coverage in common areas, and expand from there as your comfort and budget allow. Your home’s safety is an investment in peace of mind, make it count.