Table of Contents
ToggleIf you’ve started shopping for home security, you’ve probably heard the term “NVR security camera system” tossed around. Unlike traditional DVR setups that rely on coaxial cables and older compression methods, NVR systems use standard IP cameras that transmit video over your home network, giving you sharper images, easier installation, and more flexibility. Whether you’re protecting a small townhouse or a larger property, understanding how NVR systems work and what components you actually need will help you make a smart choice. This guide breaks down everything a homeowner should know before buying.
Key Takeaways
- NVR security camera systems use IP cameras over your home network to deliver superior resolution (1080p to 4K) and easier installation compared to older DVR setups that rely on coaxial cables.
- A typical home needs a 4-channel NVR with 2 TB storage ($300–600) to cover entry points like doors and driveways, with storage lasting 15–30 days of continuous 4K recording per camera.
- Stable internet with at least 5 Mbps upstream speed per camera is essential for reliable remote access to an NVR system; test your upload speed before committing to the number of cameras.
- Use surveillance-grade hard drives (WD Purple or Seagate SkyHawk) designed for 24/7 recording, as standard desktop drives fail within weeks under continuous use.
- Plan camera placement at 8–10 feet high for facial recognition, use outdoor-rated Cat6 cabling in conduit for PoE systems, and test all cameras for 24 hours before finalizing installation.
- NVR systems outperform DVR for modern homes with good internet, offering simpler wiring, better video quality, and easier expandability, though they depend on your network availability.
What Is An NVR Security Camera System?
An NVR, Network Video Recorder, is the hub that captures and stores video from IP (Internet Protocol) cameras connected to your home network. Instead of running separate coaxial cables from each camera to a central recorder, like a DVR system does, NVR cameras transmit data wirelessly or over ethernet to the recorder via your existing Wi-Fi or wired connection.
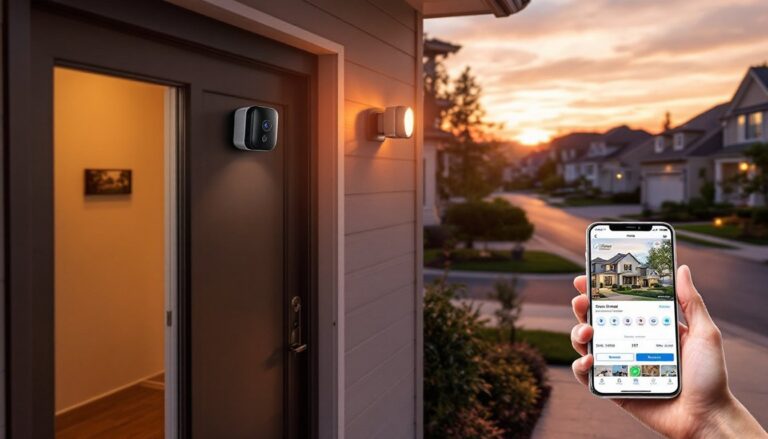
This difference matters. NVR systems typically deliver higher resolution video (often 1080p to 4K), sharper images in low light, and no bandwidth loss over distance. You can access live feeds and recordings from your phone, tablet, or computer from anywhere with internet access. Setup is generally simpler for homeowners because you’re not drilling long cable runs through walls and attics, especially important if you’re retrofitting an older home.
One thing to know upfront: if your internet goes down, you lose remote access, though local recording to the NVR unit continues. That’s why backup power (a UPS battery backup) is a smart investment for systems you depend on.
Key Components You Need To Know About
An NVR system isn’t just the recorder. You need cameras, storage, wiring, and sometimes additional hardware to make the whole setup work.
IP Cameras come in two flavors: wired (PoE) and wireless. PoE (Power over Ethernet) cameras run a single ethernet cable that delivers both power and data, one cable does the job of two. Wireless cameras simplify installation but depend on your Wi-Fi strength and battery life if they’re not plugged in. Each has trade-offs: wired systems are more reliable, but wireless saves you from pulling cables.
Network switches and routers matter more than you’d think. A standard home router handles a camera or two fine, but if you’re adding four or more PoE cameras, you’ll want a dedicated PoE switch to avoid bogging down bandwidth for other devices. Think of it like adding outlets to your garage, you don’t run all your tools off one outlet.
Power supplies and backup keep things running. PoE switches and the NVR itself need reliable power. A UPS battery backup unit (uninterruptible power supply) ensures your system keeps recording during brief outages and gives you time to safely shut down during extended power loss.
NVR Units and Recording Storage
The NVR unit itself ranges from small 4-channel models (supporting up to 4 cameras) to larger 16+ channel systems. Storage capacity depends on camera resolution, frame rate, and how long you want to keep footage. Here’s the math: a single 4K camera at 30 fps can eat 50–100 GB per day. A typical 2 TB hard drive (the most common size for home systems) holds roughly 15–30 days of continuous 4K recording from one camera.
For most homes, a 4-channel NVR with 2 TB of storage costs $300–600 and covers a small property or entry-level setup. Upgrading to 8 TB (around $600–1000) gives you 2–3 months of footage at 1080p or 4 weeks at 4K per camera, useful if you need longer retention for insurance or investigation purposes.
Hard drives in NVR systems work 24/7, so don’t cheap out here. Use surveillance-grade HDDs (like WD Purple or Seagate SkyHawk) designed for constant recording, not standard desktop drives. A regular external drive will fail in weeks or months under continuous use. Always get the warranty details, most surveillance drives come with 3–5 year warranties.
NVR vs. DVR: Which System Is Right for Your Home?
DVR (Digital Video Recorder) systems dominated for years and still work fine for some installations. Here’s the honest comparison:
DVR systems use analog or HD-over-coax cameras wired directly to a central recorder via thick coaxial cables. They’re proven, durable, and don’t depend on your home network. If your internet is spotty or you live in an area with frequent outages, a DVR is less fussy. But, image quality caps out around 1080p, cable runs are labor-intensive, and remote access requires extra fiddling with port forwarding and dynamic DNS.
NVR systems offer better video quality, easier remote access, simpler wiring, and more camera options. The trade-off: they depend on your network. If you have stable internet and reasonably fast Wi-Fi (at least 5 Mbps upstream per camera), an NVR is the smarter choice for most modern homes.
For a practical decision: if you’re installing in a 30-year-old house and don’t want to run cables through existing walls, NVR wins. If you’re retrofit-installing in a new build where walls are already open or you’re running new structure, either works, but NVR is easier and future-proof. According to recent smart home technology news and reviews, the market is shifting overwhelmingly to NVR systems, and manufacturer support for DVR is declining.
How To Choose The Best NVR System for Your Needs
Start with honest answers to three questions:
1. How many cameras do you need? Count entry points: front door, back door, garage, driveway, side yard. Most homes use 4–8 cameras. A 4-channel NVR is the entry point: 8-channel handles larger properties or multiple buildings. Avoid oversizing: each additional camera means more storage, network load, and ongoing maintenance.
2. What’s your internet speed? Test your upload speed (that’s the bottleneck for remote access) at speedtest.net. You want at least 5 Mbps upstream per camera. If you’ve got 10 Mbps and plan four cameras, you’re cutting it close, consider upgrading your internet or using fewer cameras.
3. How long do you need to store footage? If you just want to review an incident from yesterday, 7–14 days of storage is plenty. If you’re documenting recurring issues (package theft, property damage), aim for 30+ days. The Lorex Smart Home Security Center offers flexible storage options that scale with your needs.
Once you’ve answered these, compare specific models. Look for:
- Resolution support: 1080p minimum: 2K or 4K is worth the cost if your internet handles it.
- PoE power delivery: Choose systems where the NVR or a bundled PoE switch can power cameras directly, no separate power supplies running everywhere.
- Mobile app quality: Download the app and test it before buying. Laggy, confusing apps kill the convenience factor.
- Local storage: Make sure footage stores locally on the NVR, not just in cloud (which costs monthly).
- Expandability: Can you add cameras later without replacing the entire system?
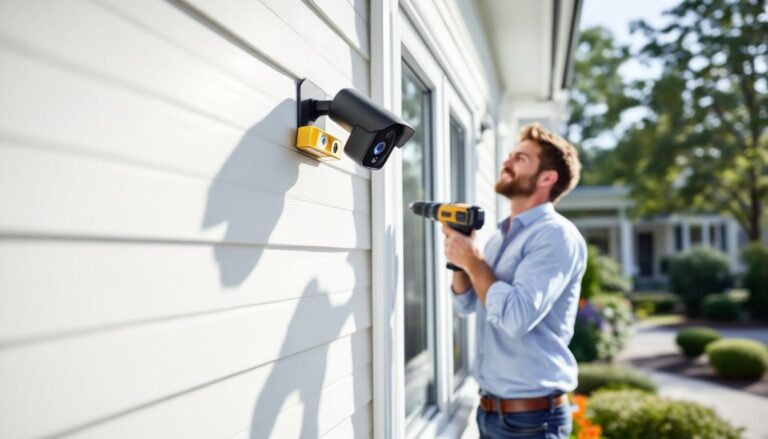
Installation Considerations for Homeowners
NVR installation is more DIY-friendly than DVR, but don’t skip the basics.
Planning and placement comes first. Sketch your property, mark camera locations (corners of the building, entry points, high-traffic areas), and measure cable runs if you’re going wired PoE. For wireless cameras, identify Wi-Fi dead zones, a camera too far from your router won’t stream reliably. Test your wireless signal strength in planned locations using a Wi-Fi analyzer app before you commit.
Mounting and weatherproofing: Use sturdy bracket hardware rated for your camera’s weight. Mount at 8–10 feet high for faces, higher for perimeter overview. For outdoor cameras, install an IP67-rated enclosure if the camera isn’t weatherproof. Position cameras to avoid direct sun glare (which washes out video) and point them slightly downward to reduce reflection.
Wiring and networking: If running ethernet for PoE cameras, use outdoor-rated Cat6 cable in conduit, standard indoor Cat5e degrades fast outdoors. Keep cable runs away from high-voltage electrical lines to avoid interference. Don’t run cables through walls without conduit: rodents and friction will destroy them. Label every cable at both ends.
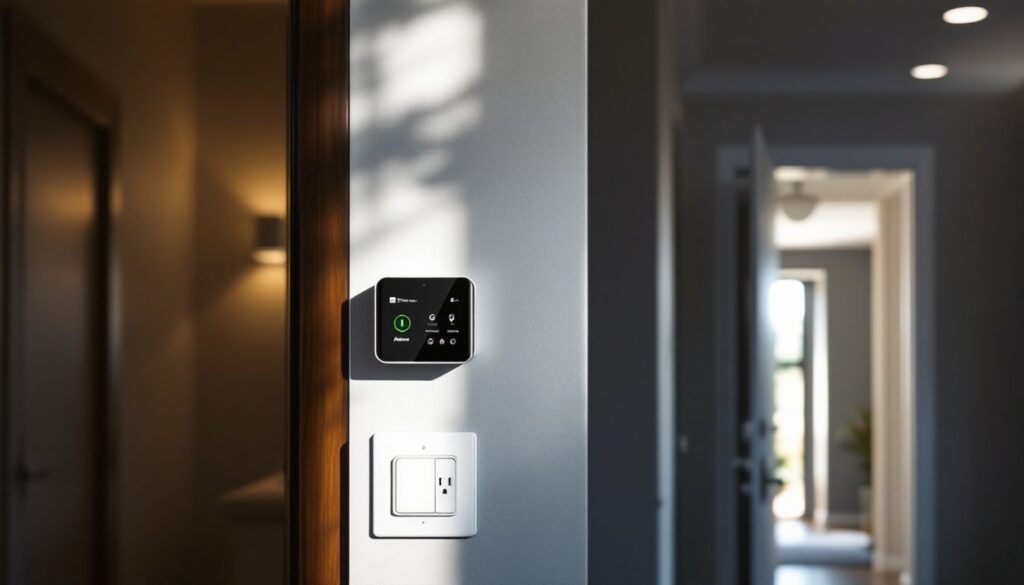
NVR placement: Install the recorder in a safe, ventilated location, a closet, utility room, or mounted in a cabinet. Keep it out of water-prone areas and ensure it has power backup. Don’t bury it in a hot attic: electronics need airflow. Homes with pet-friendly security systems should mount the unit where curious dogs or cats can’t knock it over.
Network configuration: Connect the NVR and PoE switch with ethernet. Set a strong admin password (not the default). Enable two-factor authentication on the app if available. If your system offers cloud backup, review what data is being synced and the associated costs, some plans charge monthly.
Testing and documentation: Before closing up any walls or running cables through conduit, power everything on and verify all cameras are feeding to the NVR. Run a 24-hour test to spot any dropped connections. Document your setup: camera locations, IP addresses, passwords (encrypted and stored securely), and software version. This saves time if you need to troubleshoot later or call Vivint Home Security or another provider for support.
Permits and inspections: Most residential security systems don’t need permits, but check with your local building department if you’re running significant wiring through walls or if your homeowners’ association has rules. Some jurisdictions have specific requirements for outdoor electrical or data cabling.
Conclusion
NVR security camera systems deliver sharp, reliable video without the wiring headaches of older DVR setups. Pick the right system for your internet speed and camera count, plan your installation carefully, and don’t skip network setup or storage sizing. A well-installed NVR system keeps running for years and gives you genuine peace of mind, no regrets later. Start with a quality 4-channel system, test it thoroughly, and expand when you’re ready. Your future self will thank you for getting the foundations right.