Table of Contents
ToggleHome security doesn’t have to drain your wallet. A solid cheap security camera setup can deter intruders, monitor activity, and give you peace of mind for well under what you’d spend on a professional monitoring service. The trick is knowing which budget models actually deliver clear footage and reliable performance, and which ones cut corners in the wrong places. This guide walks you through what to look for, which features matter most on a tight budget, and how to install these cameras yourself.
Key Takeaways
- A cheap security camera delivers real home security when you prioritize reliable hardware, firmware updates, and honest specs over AI gimmicks and unnecessary features.
- 1080p resolution is the ideal sweet spot for budget security cameras, offering clear facial identification at 10 feet and vehicle recognition at 20 feet without overtaxing bandwidth or storage.
- Outdoor cheap security cameras require IP65 or higher weather resistance ratings, infrared night vision, and proper installation with weatherproof cords and sealed cable entries to ensure longevity.
- WiFi placement within 30–50 feet of your router is critical for stability; hardwired PoE or Ethernet setups are more reliable alternatives for permanent outdoor installations.
- Smart motion detection zones and local microSD backup storage significantly reduce false alerts and protect footage if your internet connection drops.
- Regular firmware updates and careful angle testing before final installation ensure your budget camera performs reliably for years without requiring professional monitoring service costs.
What Makes a Security Camera Worth Buying at Budget Prices
Not every cheap security camera is created equal. The difference between a $30 model that freezes every hour and one that runs reliably for years often comes down to a few core things: reliable hardware, competent firmware, and realistic specs from the manufacturer.
A good budget camera won’t have fancy AI features or panoramic lenses. Instead, it’ll focus on rock-solid fundamentals: decent image sensor, stable WiFi connection, and firmware that gets updates. Look for cameras from brands that actively support their products with software patches. If the manufacturer hasn’t updated the app or firmware in 18 months, move on.
Also consider where you’re buying. Retailers with solid return policies, Amazon, Best Buy, Costco, mean you can test a camera and swap it if it doesn’t work. Direct-from-manufacturer sites often have longer return windows too.
Codec matters more than people think. H.264 is standard and efficient: H.265 is newer and uses less bandwidth, which helps on slower WiFi. Both work fine, but H.265 is a bonus on budget gear. Finally, be honest about your internet speed. A $40 camera is only as good as your WiFi can make it. If you’re on old DSL or a congested network, skip wireless and go hardwired or stick with models designed for low-bandwidth setups.
Top Features to Look For Without Overspending
Resolution and Video Quality on a Budget
1080p (2 megapixel) is the sweet spot for budget security cameras. It’s sharp enough to identify faces at 10 feet and vehicles at 20 feet, which covers most home entry points. Going cheaper, 720p or lower, makes footage grainy and harder to use if you ever need it for identification. Going pricier to 2K or 4K adds minimal real-world value for typical home setups and taxes your internet bandwidth and cloud storage.
Frame rate matters less than people think for security. 30 fps (frames per second) is standard and looks smooth. Some budget models offer 15 fps to save bandwidth: it’s jerky but workable. Avoid anything under 10 fps.
Look for a camera with adjustable sensitivity and motion detection zones. This cuts false alerts from trees blowing in wind or headlights sweeping the yard. A $50 camera with smart motion zones beats a $100 model that records everything and drains your storage.
Cloud storage options vary widely. Free tiers (usually 24–48 hours of motion clips) are standard: paid plans run $3–8 per month per camera. Local storage via microSD card is valuable, it’s a backup if your internet hiccups. Check that the camera supports 128GB or 256GB cards: cheap models sometimes max out at 32GB.
Night Vision and Weather Resistance
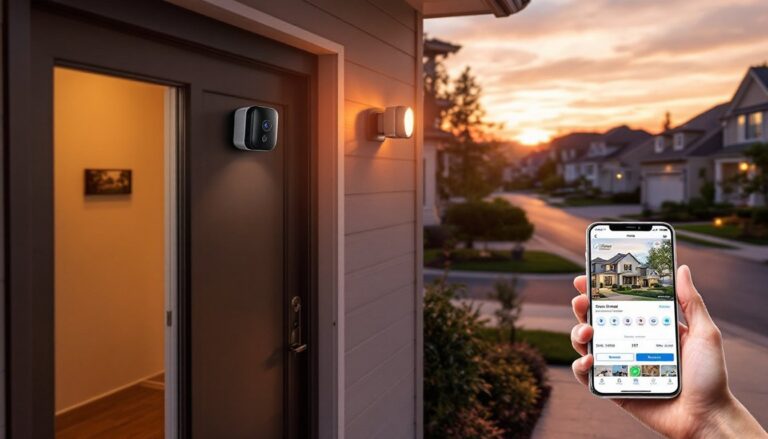
Infrared night vision is non-negotiable for outdoor or porch cameras. IR LEDs let the camera see in complete darkness without visible light (so burglars don’t know they’re being filmed). Budget cameras often have decent IR, 20–30 feet of range is typical. Test it before committing: watch YouTube reviews of the exact model to see actual night footage.
Weather resistance is critical for outdoor gear. Look for IP65 or IP67 rating. IP65 means the camera can handle rain, dust, and hoses. IP67 means it can briefly survive submersion. (The first digit is dust protection, the second is water protection.) Anything below IP65 isn’t worth the risk outdoors, a few days of rain will kill it.
Temperature range matters in cold climates. Most cameras spec operation down to 32°F or lower. If you’re in a place that hits -10°F, check before buying: some budget models stop working below freezing.
Power supply affects reliability. PoE (Power over Ethernet) cameras run on a single cable and don’t need batteries or separate power, best for wired outdoor setups. Hardwired plug-in models are reliable but need an outlet. Battery-powered wireless cameras are convenient but need recharging every few weeks to months, depending on activity. For a cheap camera you want to install and forget, hardwired or PoE beats battery.
Installation and DIY Setup Considerations
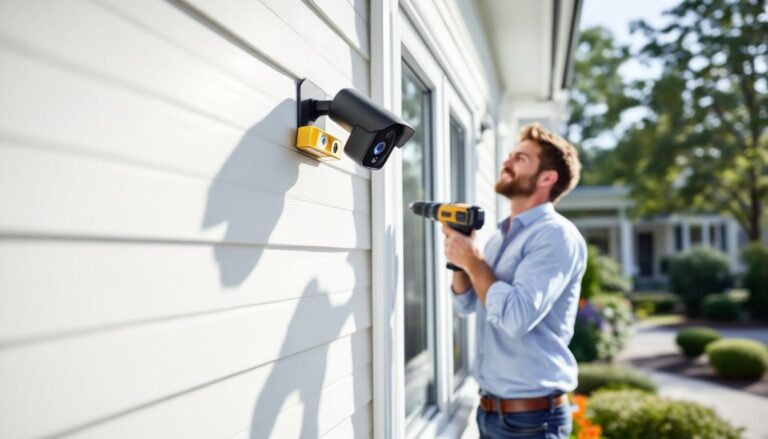
Most budget security cameras are designed for DIY install, that’s how manufacturers keep costs down. A standard indoor plug-in camera takes 10 minutes: mount it, plug it in, download the app, and scan a QR code. No tools needed.
Outdoor cameras are trickier. If you’re running power from an outlet, use a weatherproof outdoor-rated extension cord and outlet cover: indoor cords fail in weather. If you’re drilling holes in siding or fascia, seal them afterward with silicone caulk to stop water intrusion. A caulking gun and exterior-grade caulk cost $5–10 and save you hundreds in potential water damage.
WiFi placement is crucial. Position the camera within 30–50 feet of your router for stable connection. Walls and interference weaken signal. If signal is weak, consider a mesh WiFi system or powerline adapter to move your router closer. A failing WiFi connection makes even a great camera worthless.
Hardwiring a camera (running Ethernet cable to a PoE switch or PoE injector) is more work but bulletproof for reliability. Drill a hole, run the cable in conduit or along the fascia, and you’re done. Ethernet is immune to WiFi dropout. For a permanent outdoor setup, this is the move.
Permit and code considerations vary by jurisdiction. Most residential security cameras don’t need permits, but check your local code. If you’re running new electrical circuits, a licensed electrician is smart, power to outdoor gear should be on a dedicated GFCI circuit. If you’re unsure, ask your city’s building department or a local electrician: it costs $50–100 in advice and saves headaches.
Night vision works best at 8–15 feet, closer, the IR overexposures: farther, it gets dark. Adjust the angle and height to match your expectations. Test it at night before cementing your choice. Many budget cheap outdoor security cameras offer clear daytime footage but disappoint after dark, reviews on CNET and Tom’s Guide show real-world footage, so check those before buying.
Motion detection sensitivity should be tuned once installed. Leave it at default, test for false alerts over 3–5 days, then dial it down if needed. Some cameras let you set detection zones, so point it away from areas with traffic or swaying branches.
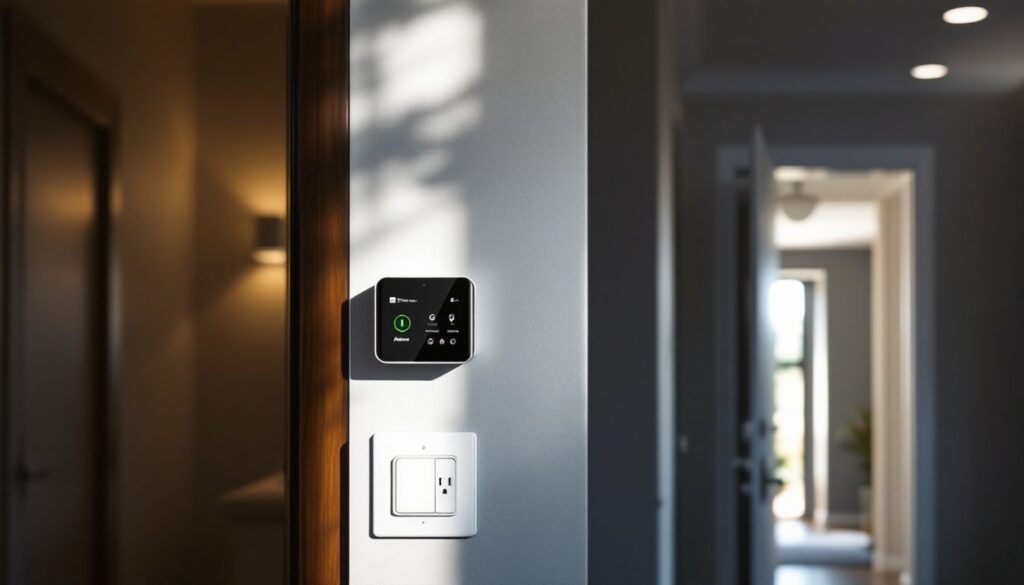
One more tip: keep your camera firmware updated. Budget brands release patches for bugs and security holes. Set a reminder to check the app every three months. A Lorex Smart Home or similar system that auto-updates is a bonus, but most budget gear requires manual updates.
Conclusion
Cheap security cameras work when you focus on fundamentals: reliable brands, honest specs, appropriate features for your space, and careful installation. Skip gimmicks and trendy AI nonsense: 1080p, night vision, and motion detection are all you need. Do the prep work, WiFi placement, power setup, angle testing, and a $40–$80 camera delivers real security for years. Your future self will thank you.