Table of Contents
ToggleCoax security cameras have been the backbone of home surveillance systems for decades, and for good reason. Unlike WiFi cameras that depend on spotty internet connections, coaxial systems deliver reliable, continuous video feeds without the buffering headaches. Whether you’re upgrading an older system or installing cameras for the first time, understanding how coax technology works and what it takes to set up is essential. This guide walks you through what makes coax cameras tick, how they compare to wireless alternatives, and exactly what you need to get them running properly in your home.
Key Takeaways
- Coax security cameras provide reliable, continuous video recording through wired connections that work independently of internet availability, unlike wireless systems that depend on WiFi and internet connectivity.
- Coaxial infrastructure outlasts wireless systems by 10+ years, with properly installed coax cables often performing flawlessly for 15+ years compared to wireless mesh networks requiring refreshes every 5-7 years.
- Use quad-shielded RG-6 cable for runs over 150 feet and compression F-connectors sealed at both ends to prevent weather-related signal degradation and corrosion issues.
- Proper cable termination, secure mounting, and thoughtful routing through attics or walls are essential for coax camera installation, with cable runs stapled every 16 inches and secured at stress points.
- Troubleshoot picture quality and signal loss by checking BNC connector seals, testing cable continuity with a multimeter, and upgrading power supplies if cameras randomly reboot from undersized voltage delivery.
Understanding Coax Security Cameras and Their Advantages
Coax (coaxial) security cameras transmit video signals through thick, shielded cables, the same RG-6 or RG-59 cables used for cable TV. This direct, wired connection eliminates many of the problems that plague wireless systems: signal degradation, interference, and dropped frames. The camera itself sends an analog or digital signal down the line to a Digital Video Recorder (DVR) or Network Video Recorder (NVR), where footage gets stored and reviewed.
The key advantage is reliability. A coax camera running to a DVR in your garage will keep recording even if your internet goes down, something wireless cameras can’t do without a battery backup or cloud subscription. There’s no WiFi password to forget, no router placement compromises, and no latency issues when you’re reviewing footage. Coax systems also excel in areas with interference: concrete walls, metal studs, and electrical wiring don’t degrade a wired signal the way they degrade radio frequencies.
Another plus: longevity. Coaxial infrastructure lasts 15+ years without degradation. A well-run coax cable from a 2005 installation often still performs flawlessly today. Wireless mesh networks? They typically need hardware refreshes every 5-7 years. From a cost-per-year-of-service perspective, especially in larger homes, coax is hard to beat.
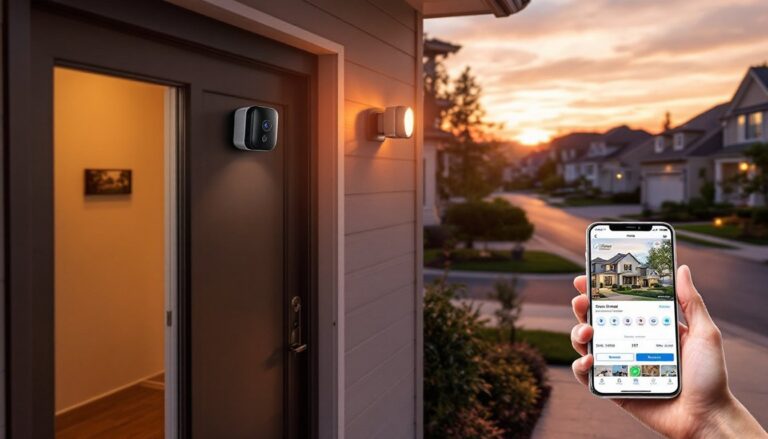
Coax vs. Wireless: Which Technology Is Right for Your Home
The choice between coax and wireless comes down to your home’s layout, existing infrastructure, and tolerance for maintenance. Coax cameras excel in stability and uptime. They’re ideal if you have attic or basement runs where you can thread cable without tearing into walls, or if you’re building new and can wire during framing. They’re also the right call if your WiFi is already struggling to reach certain areas, adding 4K wireless cameras will only make things worse.
Wireless systems shine in flexibility and quick setup. No drilling, no conduit, no planning routes through walls. They’re perfect for renters or those unwilling to commit to wall cuts. But, wireless cameras depend entirely on your router and internet quality. Recent reviews on home security technology consistently show that wireless systems drop frames under congestion and fail to record when internet is down.
Here’s the practical trade-off: A coax system takes 2-4 days to install if you’re running new cable, but then runs trouble-free for a decade. A wireless system takes an afternoon to install, but you’ll spend evenings adjusting WiFi channels, repositioning cameras, and troubleshooting connectivity. Neither is “wrong”, it depends on your priorities. If continuous, uninterrupted recording matters more than convenience, coax wins. If flexibility matters more than absolute reliability, wireless is your answer.
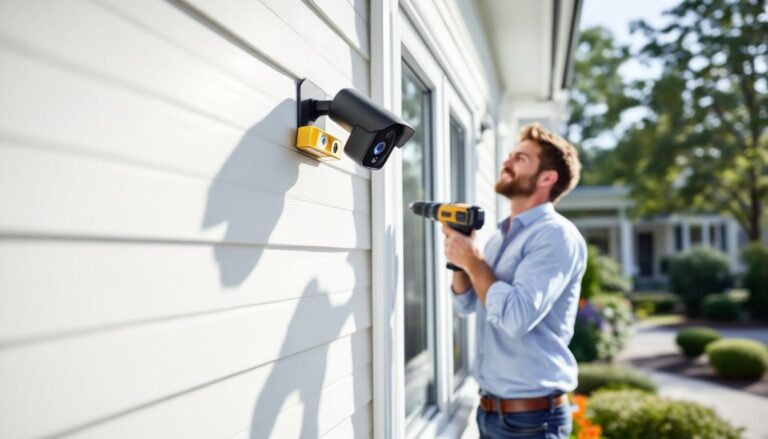
Essential Tools and Materials for DIY Coax Installation
Before you pick up a screwdriver, gather everything you’ll need. Mistakes happen when you’re halfway through a run and realize you’re missing a tool or connector.
Materials:
- RG-6 coaxial cable (quad-shielded recommended for longer runs over 150 feet: RG-59 works for shorter runs under 100 feet)
- F-type connectors (compression connectors are better than crimp, they seal against weather)
- BNC-to-F adapters (if your DVR/NVR has BNC inputs)
- Grommets and conduit (protect cable where it passes through walls: PVC or metallic conduit both work)
- Weatherproof junction boxes if your cameras sit outside
- 12V power supply (sized for the total amperage of all cameras)
- Cable ties and clips (organize runs, prevent pinching)
Tools:
- Coax cable stripper (essential: a utility knife tears the inner insulation)
- Compression connector crimper (hand-crank or electric: improves signal quality over cheap push-on connectors)
- Multimeter (tests continuity and voltage)
- Fish tape (threads cable through walls when you can’t push it directly)
- Drill with long bits (for pilot holes: 1/2-inch to 3/4-inch bits typical)
- Voltage tester (safety check before working near any wiring)
PPE: Safety glasses (condensation from attic work drips), work gloves (connectors are sharp), and if drilling in older homes, a dust mask rated N95 or better (older insulation can contain asbestos). Always test suspect materials before disturbing them.
Step-by-Step Installation Guide for Beginners
Running Cable and Positioning Your Cameras
Start with a floor plan. Sketch where each camera will mount (entry points, driveway, side yard) and trace a logical path for cable runs. Don’t just route cable haphazardly, plan runs that minimize total length and avoid sharp bends (anything tighter than a 1.5-inch radius degrades signal).
Step 1: Secure camera mounts first. Use concrete anchors for stucco or brick, toggle bolts for hollow drywall, and lag bolts for wood studs. A camera sagging from a loose mount becomes useless within weeks. Mount height matters: typically 8-10 feet for perimeter cams, angled down slightly to see faces rather than just the tops of heads.
Step 2: Run cable from camera to DVR location. If running through an attic, use existing pathways and staple the cable every 16 inches to rafters or joists, never more than 12 inches from a turn. Avoid pinching cable under pipes or HVAC ducts: use cable clips and brief lengths of plastic conduit at stress points. If you’re wall-mounting cameras and the DVR is inside, drill a 3/4-inch hole with a slight downward angle to shed water. Use a grommet to seal the hole.
Step 3: Strip and terminate each cable end. Use a coax stripper to carefully remove the outer jacket (about 0.5 inches), then the foil and braid shield, leaving the white dielectric intact. Slide a compression F-connector onto the center conductor, they crimp down and create a weatherproof seal. Crimp with two full squeezes if using a hand tool: one full rotation if using a powered crimper. Push-on connectors are tempting but fail in damp conditions: spend the extra $2 per connector on compression types.
Step 4: Connect to your DVR/NVR. Most modern DVRs accept BNC inputs, so you’ll need a BNC-to-F adapter for each line. Insert the BNC end into the recorder’s video input port until you hear a click. Label each cable at both ends with permanent marker (e.g., “Front Door,” “Driveway”) so you know which camera is which during setup.
Step 5: Power up and test. Connect the 12V power supply to the DVR (most systems share one supply for all cameras). Flip the breaker and check the DVR’s monitor output. You should see live video from each camera within 10-15 seconds. If a camera shows snow or rolling lines, check that BNC connection, it’s likely loose. If the picture is stable but dim, the cable run may be too long: consider upgrading to RG-6 quad-shielded or running a separate power line to that camera.
Troubleshooting Common Coax Camera Issues
No video on one or more cameras: Start by visually inspecting the BNC connectors at the DVR, they should click firmly into place. If loose, reseat them. Then check the cable run for pinches, kinks, or signs of rodent damage (yes, squirrels eat coax insulation). Use your multimeter set to continuity mode to test the cable end-to-end. A good cable should beep: no beep means the center conductor is broken, that cable needs replacement.
Snowy, static-filled picture: This almost always means a poor connection. Check both BNC ends, then the crimped F-connectors. If connectors look weathered (corroded), carefully cut off 6 inches of cable and re-terminate both ends with fresh compression connectors. If the picture clears up, water intrusion was causing the noise. For future runs, always use weatherproof compression connectors, not cheap push-on types.
Intermittent loss of signal (on/off every few minutes): This is typically a corroded connection or a cable abraded and touching another conductor inside the wall. Check all connections first. If those are clean, the cable likely needs replacement. Expert reviews on security camera systems recommend testing suspicious cables in isolation with a second DVR before assuming the camera is faulty.
All cameras working but picture quality is poor: Long cable runs (over 200 feet) degrade signal. Run a secondary 12V power line directly to the farthest camera to boost its local signal. Alternatively, replace the existing cable with quad-shielded RG-6 (thicker gauge, better shielding). CNET’s home security guides also note that older analog DVRs are more prone to picture degradation on long runs than newer hybrid systems.
Power issues (cameras randomly reboot): The 12V power supply may be undersized. Count the total amperage draw (each camera specs this: typically 300-500mA), then verify your power supply exceeds that by at least 20%. If a supply is rated 2A but needs to deliver 2.4A, cameras will brown out and reset. Upgrade to a larger supply if needed.
Conclusion
Coax security cameras demand more upfront planning and elbow grease than WiFi alternatives, but they deliver unmatched reliability and longevity. Proper cable runs, compression connectors, and thoughtful routing mean your system will perform year after year without the frustrations of wireless dropouts. Start with a clear floor plan, take time to strip and terminate cables correctly, and don’t skip the testing phase. Your future self, sitting safely at home knowing recordings are continuously flowing to a local DVR, will thank you for doing it right.