Table of Contents
ToggleInstalling home security cameras doesn’t require a licensed electrician or months of technical training. Thousands of homeowners successfully set up security systems every year using basic tools and straightforward planning. Whether you’re protecting your front door from package thieves, monitoring a backyard, or securing multiple entry points, this guide walks you through the entire process, from assessing your coverage needs to connecting to your home network. By the end, you’ll understand what cameras work best for your situation, what equipment you need, and exactly how to install them without unnecessary frustration.
Key Takeaways
- Security camera home installation is a manageable DIY weekend project that doesn’t require a licensed electrician or technical training—thousands of homeowners complete it annually with basic tools and planning.
- Assess your property’s vulnerabilities and coverage needs before purchasing cameras by marking entry points, sightlines, and high-traffic areas to avoid overbuying and wasted investments.
- Choose between wired, wireless, or battery-powered cameras based on your flexibility needs and environment; hybrid setups combining wired power with wireless connectivity often provide the best balance for residential use.
- Invest in at least 1080p resolution cameras with night vision capability for reliable identification, as ultra-cheap 480p models deliver poor quality when you need evidence most.
- Secure your network by changing default passwords immediately, using a separate Wi-Fi network for IoT devices, enabling two-factor authentication, and updating firmware regularly to prevent unauthorized access to your surveillance footage.
- Complete weatherproofing of all cable entry points and power connections using outdoor silicone caulk to prevent water damage and extend your camera system’s lifespan.
Planning Your Home Security Camera Setup
Before buying a single camera, spend time thinking about what you actually need to monitor. This planning phase saves money, eliminates regret purchases, and ensures your cameras cover the areas that matter most.
Assessing Your Property and Coverage Needs
Walk your property at different times of day and note potential vulnerabilities. Where do burglars typically enter? Front door, back door, garage, side window? Where do package deliveries happen? Which areas lack good outdoor lighting? Mark these spots on a sketch of your home.
Consider sightlines carefully. A camera pointed at a fence covers nothing useful. A camera angled toward your driveway captures license plates and faces, far more valuable. According to research on optimal security camera placement locations, positioning near entry points and high-traffic areas provides the best deterrent and evidence.
Count how many cameras you’ll realistically need. A small townhouse might use two or three. A larger home with multiple entry points might need six or more. Don’t overbuy hoping to cover everything perfectly, start with critical areas and expand later if needed.
Also think about power and internet. Wired cameras need to run cable to a power source or NVR (Network Video Recorder). Wireless or battery-powered cameras offer more placement flexibility but need reliable Wi-Fi signal and regular battery changes. Hybrid setups, wired power with wireless connectivity, often give the best balance.
Choosing the Right Camera Type for Your Home
Three main types of security cameras exist for residential use: wired, wireless, and battery-powered. Each has tradeoffs worth understanding before you commit.
Wired cameras connect directly to a power supply and often to an NVR via ethernet cable. They never run out of battery, offer the most stable connection, and work well if you’re willing to run cabling through walls or along eaves. Downside: installation is messier and requires drilling, fishing cable, and potentially hiring an electrician for outdoor outlet installation.
Wireless cameras receive power from a plug-in unit and communicate via Wi-Fi. Setup is faster, no cable runs needed, but you depend on your router’s range and signal strength. A single weak Wi-Fi spot can drop frames or disconnect the camera entirely.
Battery-powered cameras offer maximum placement freedom but require regular charging (monthly to quarterly, depending on model and activity). They’re ideal for renters or temporary monitoring, less ideal for permanent security.
For most homeowners, a Ring Home Security Kit or similar hybrid approach works well: a wired doorbell camera for high-traffic entry points and a few wireless cameras for backup coverage. Within your chosen type, prioritize 1080p or higher resolution, night vision capability, and cloud or local backup storage. Avoid ultra-cheap models with 480p video, you’ll regret it the moment you need to identify a face.
Resolution matters more than marketing hype. A 1080p camera captures detail sufficient for identification: 2K or 4K is overkill for most residential use and drains battery faster on wireless models.
Essential Tools and Equipment for Installation
Gather your tools before opening a camera box. Most DIYers can handle installation with items already in their garage.
Tools you’ll need:
• Drill with bits (for drywall anchors, cable holes, and fascia mounting)
• Screwdriver set (Phillips and flathead)
• Level (to ensure cameras aren’t tilted)
• Tape measure
• Stud finder (if mounting to exterior walls with studs)
• Caulk gun (for weatherproofing cable entry points)
• Ladder or step stool
• Fish tape (if running cables through walls)
Materials and supplies:
• Mounting brackets (usually included with cameras, but extras are cheap insurance)
• Stainless steel or coated fasteners (exterior screws rust quickly without proper coating)
• Weatherproof caulk (silicone-based for outdoor areas: acrylic for indoors)
• Cable clips or conduit (for securing exposed cabling)
• Ethernet cable for wired setups (if running hardwired connections to NVR)
• Power supply or transformer (specific to your camera model)
Safety and protection:
• Safety glasses when drilling
• Work gloves when handling metal brackets
• A second pair of hands (ladder work is safer with a spotter)
Battery-powered models like those from Lorex Smart Home Security ship with all mounting hardware. Wired systems often require you to source your own fasteners and cable, so read your manual before shopping.
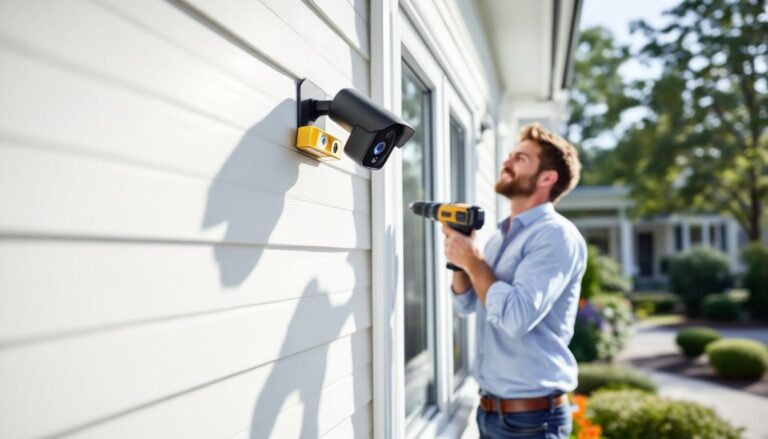
Step-by-Step Installation Process
Installation order matters. Do planning and prep work before drilling anything permanent.
1. Power off and plan cable routes. If hardwiring cameras or connecting to an NVR, identify the shortest cable paths. Running cable along the house exterior (under eaves, along fascia) beats drilling holes through walls. Use outdoor-rated cable only, regular ethernet degrades in UV and moisture.
2. Mount brackets securely. Hold the bracket against the wall and mark holes with a pencil. Drill pilot holes slightly smaller than your fasteners. Use stainless steel lag bolts (5/16″) for wood exterior or concrete anchors (3/8″) for masonry. Tighten firmly but don’t strip the hole. A level ensures the camera won’t look drunk in recordings.
3. Attach the camera to the bracket. Most cameras click or screw onto a ball mount. Orient the camera to your planned sightline. Adjust the tilt and pan before tightening final hardware. Recheck the level.
4. Route and secure cables. If running power or ethernet, use cable clips every 12-18 inches along the route. Cable staples work indoors: exterior cable needs UV-resistant clips. Avoid sharp edges and ensure cables aren’t compressed by siding, gutters, or landscaping.
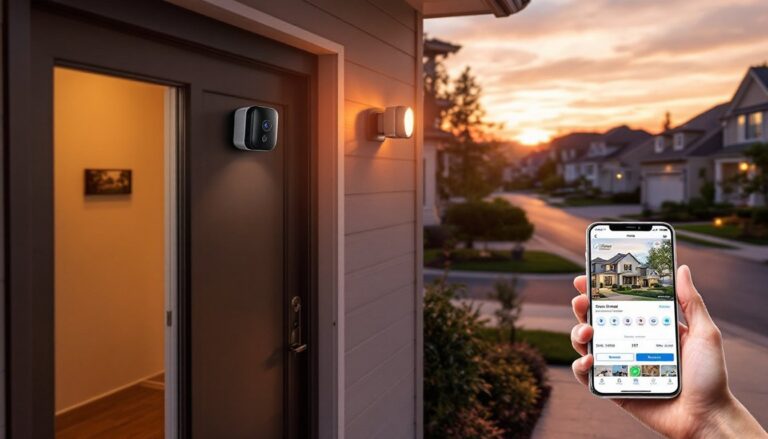
5. Connect power and test the signal. Plug in the power supply and watch for indicator lights on the camera. Open your phone app and confirm the camera connects to Wi-Fi (for wireless models) or appears on your NVR feed (for wired). A weak signal now becomes a daily headache later, reposition the router or camera if needed.
6. Weatherproof all connections. Caulk around cable entry points and power connections with outdoor silicone. This prevents water ingress and extends camera lifespan by years. Pay special attention to the gap between the camera body and the bracket.
7. Test night vision and adjust settings. After sunset, review the night vision feed. Adjust IR settings if the image looks washed out or too dark. Configure recording schedules, motion alerts, and backup storage in your app or NVR settings.
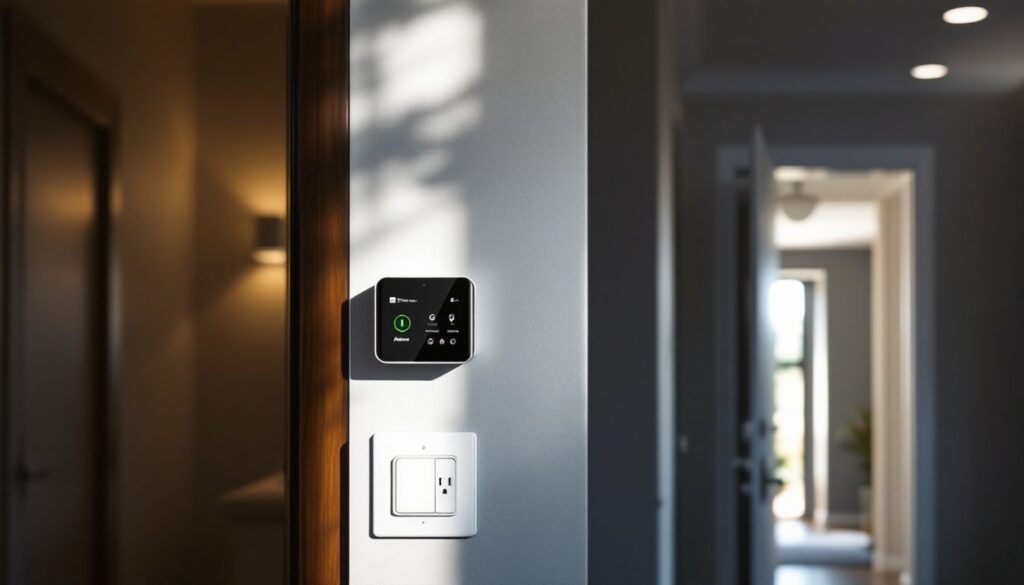
Securing Your Network and Protecting Your Footage
A camera is only as secure as the system it connects to. Weak network security defeats the purpose of surveillance.
Change default passwords immediately. Every camera and NVR ships with a default admin password. Attackers know these defaults and actively scan for vulnerable devices. Log in, go to settings, and create a strong password (16+ characters, mix of uppercase, numbers, and symbols). Write it down somewhere secure, losing it is annoying.
Use a separate Wi-Fi network for IoT devices. Most routers allow you to create a guest network. Place cameras and other smart home devices on this network, isolated from computers and phones storing sensitive files. If a camera is compromised, an attacker can’t access your laptop or phone from the same network.
Enable two-factor authentication on your camera app. This adds a second verification step (usually a code sent to your phone) when logging in from a new device. It’s an extra 10 seconds per login and prevents unauthorized remote access.
Configure encrypted local storage. Cloud storage is convenient but costs money and sends footage to a third-party server. Many modern cameras support local NVR storage with encryption. Your home surveillance footage stays on your network, under your control.
Update firmware regularly. Camera manufacturers push security patches every few months. Check your app monthly for firmware updates and install them immediately. Outdated firmware is a known weakness exploited by hackers.
Disable remote access if you don’t use it. Convenience comes at a security cost. If you don’t need to check cameras while away from home, disable the feature in settings. Reduce your network’s attack surface whenever possible.
Conclusion
Security camera installation is a manageable weekend project that delivers real peace of mind. Plan your coverage carefully, choose cameras suited to your environment, use proper fasteners and weatherproofing, and secure your network before considering the job done. Start with one or two cameras at critical points, your front door and back patio, and expand once you’re comfortable with the system. Most DIY frustration comes from rushing setup or ignoring network security, not from the physical installation. Take your time, and you’ll have a reliable security system watching your home 24/7.