Table of Contents
ToggleWhen your front porch gets damaged or a package goes missing, the first thought is often, “If only I’d seen what happened.” Security camera services give homeowners exactly that visibility, and peace of mind. Whether you’re protecting your family, monitoring your property while away, or documenting incidents, the right security camera service does heavy lifting that a single camera can’t. This guide walks you through what professional security camera services offer, what to look for, and how to choose a system that actually fits your home and budget, not just the salesman’s pitch.
Key Takeaways
- Professional security camera services integrate monitoring, storage, and alerts into a cohesive system that homeowners can’t replicate with a single camera alone.
- Insurance discounts often recover your annual security camera service cost within three to five years, making the upfront investment financially worthwhile.
- Professionally installed systems offer 24/7 monitoring and response for $30–$100 monthly, while DIY options like Ring or Wyze cost $3–$30 monthly but require you to monitor footage yourself.
- Critical camera features include 1080p minimum resolution (2K or 4K preferred), night vision capability, 160°–180° field of view for perimeter coverage, and smart AI alerts that distinguish between people, vehicles, and pets.
- Many homeowners use a hybrid approach with professionally monitored cameras at entry points and DIY cameras in secondary areas, balancing cost and security coverage effectively.
- Before installation, consult your insurance company about discounts that may favor professional monitoring, and get quotes from at least two providers to match the system to your actual home layout and concerns.
Why Homeowners Need Professional Security Camera Services
Security camera services do more than record video, they integrate monitoring, storage, alerts, and often professional response into a cohesive system. A homeowner might install a single camera on the garage, but professional services manage multiple cameras, centralize footage storage, and connect notifications to your phone in real time. When motion triggers an alert at 2 a.m., the system knows to send you video, not just a generic ping.
Insurance companies often offer discounts for homes with monitored security systems, sometimes recovering your annual service cost in premium reductions alone. Beyond that, professional monitoring adds accountability: if something happens, you’re not the only eyewitness, trained responders have access to your footage and timeline. This matters especially for break-ins, which can happen while you’re asleep or away, leaving no human observer. A properly installed and monitored system also deters crime more effectively than a visible camera alone: burglars see professional signage and move to easier targets. The upfront investment typically pays for itself within three to five years through insurance savings and incident prevention.
Types of Security Camera Services Available
Security camera services fall into two broad categories: professionally installed systems and cloud-based DIY services. Professional installation means a technician visits your home, assesses layout, runs wiring (often hiding cables in walls or along trim), mounts cameras at optimal angles, and tests everything before leaving. You get a turnkey system and ongoing support. DIY services like Ring or Wyze let you buy hardware, mount it yourself, and manage everything through an app. Both approaches have merit, and the choice depends on your comfort with technical setup, your home’s construction, and how much monitoring support you want.
Professionally Installed Systems vs. DIY Options
Professionally installed systems (Vivint, ADT, Comcast Xfinity) come with trained installers who handle placement, wiring, and integration with your home’s network. They often include 24/7 professional monitoring, someone actually watches alerts and contacts authorities if needed. Monthly monitoring fees range from $30 to $100+ depending on the service level. Setup costs are higher (often $500–$2,500 for hardware and installation), but you get a backed warranty and someone to call if the system fails.
DIY options (Ring, Wyze, Arlo) let you buy cameras outright and install them yourself, usually without paid monitoring. Monthly costs are lower ($3–$30 for cloud storage and app features), and you have flexibility to add or move cameras. The trade-off: you handle troubleshooting, and you’re responsible for monitoring your own footage. No one calls the police on your behalf, you spot the incident on video and contact authorities yourself. For renters or those unwilling to run cables through walls, DIY works. For long-term protection and professional response, installed systems offer more coverage.
Many homeowners use a hybrid approach: professionally monitored cameras at entry points and DIY cameras in secondary areas, spreading the cost while maintaining responsive monitoring where it matters most. Check your insurance policy, some carriers require professional monitoring for discounts, which shifts the value calculation toward installed systems.
Key Features to Look for in a Security Camera Service
Not every camera or service is built the same, and a few technical specs separate effective systems from those that frustrate you six months in.
Resolution and Night Vision are non-negotiable. Look for cameras with 1080p minimum resolution, though 2K or 4K provides significantly clearer detail for identifying faces or license plates, crucial if footage ever ends up in court. Night vision comes in two types: infrared (IR), which uses invisible lights and creates grayscale video, and color night vision, which requires some ambient light but delivers colored footage. IR is standard and reliable: color night vision is newer and requires good streetlights or porch lights nearby.
Field of view (FOV) matters more than homeowners realize. A 160°–180° wide angle covers more ground (useful for driveways or yards), while narrower views capture fine detail over distance. You often need both: wide cameras for perimeter coverage, narrow cameras for entry points. Ask what angles a professional installer recommends for your specific layout: this is where experience saves you from buyer’s remorse.
Storage options determine how long footage stays accessible. Cloud storage (offered by most services) stores video on company servers for 7–30 days, depending on your plan and how much motion-triggered recording happens. Local storage (an NVR or network video recorder, basically a hard drive that lives in your home) is more private and cheaper long-term but requires you to manage the device. Some systems offer both: local backup with cloud redundancy. If internet goes down, local storage keeps recording.
Smart alerts should distinguish between a person, a vehicle, and a pet. Cheap systems send notifications for every breeze: good systems use AI to filter motion types, reducing false alarms from shadows or animals. This matters because alert fatigue, ignoring notifications after the fifth false alarm, defeats the purpose.
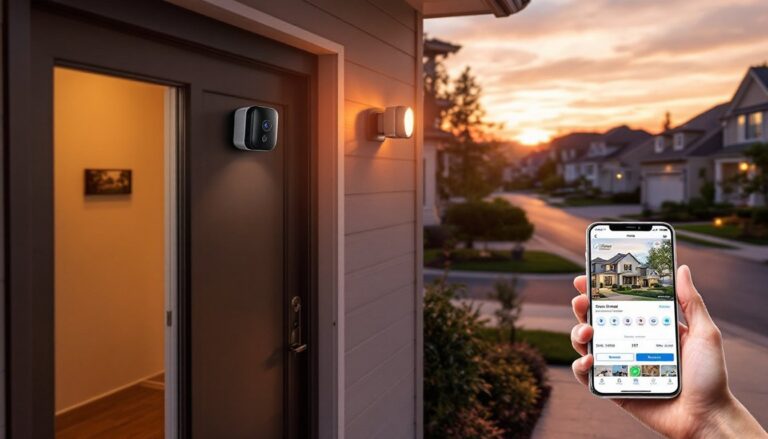
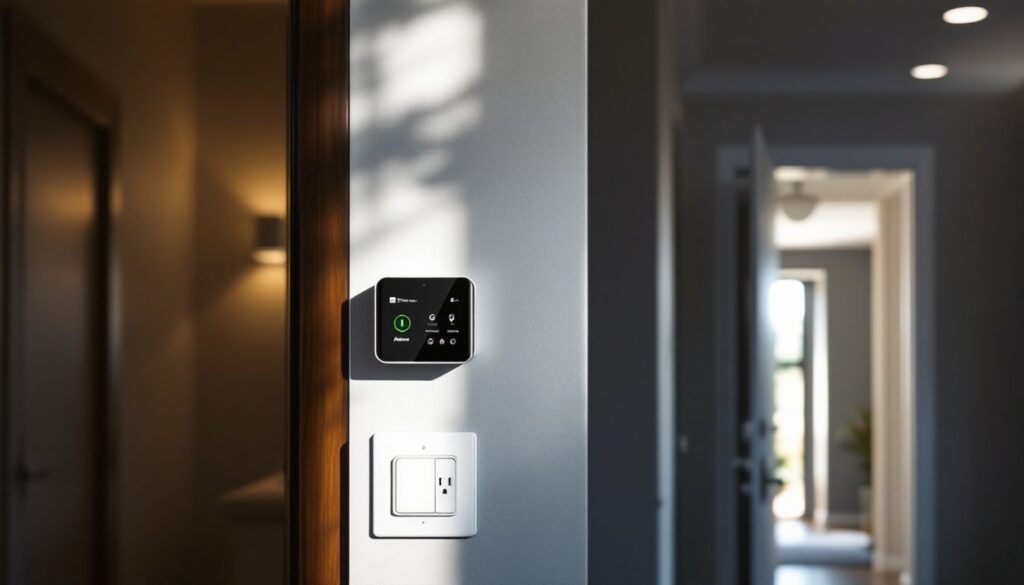
Remote access and integration let you view live or recorded footage from anywhere, arm/disarm the system, and, ideally, integrate with other smart home devices. Ask whether the service works with existing systems you own (smart locks, lights, thermostats) and whether there are ongoing app compatibility issues.
What to Expect During Installation and Setup
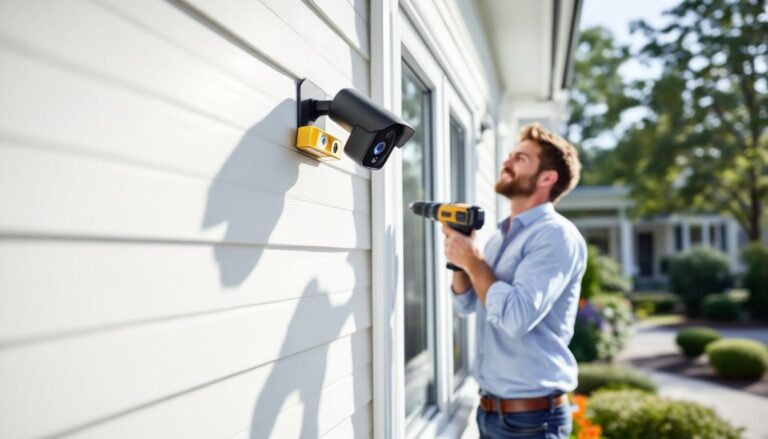
Professional installation typically happens over one to four hours, depending on system size and whether cables run through walls. A technician arrives with tools, mounts, and sometimes a helper.
Expect the following steps:
- Site assessment: The tech walks your property, identifies entry points, checks lighting, and notes power access. This takes 15–30 minutes and determines camera placement.
- Cable runs: If running wired cameras, the tech or a helper may drill through walls or run conduit along baseboards and soffits. This can be messy: ask about cleanup. If you have older plaster walls, drilling carefully avoids surprise damage.
- Camera mounting: Cameras are mounted on brackets, angled per your preferences. Heights usually range from 8–12 feet for perimeter cameras.
- Network and power setup: The tech connects cameras to your Wi-Fi or a dedicated NVR, tests signal strength, and plugs in power (or installs battery backups). Weak Wi-Fi is the #1 reason for laggy or dropped footage, the tech should identify dead zones.
- Testing and configuration: All cameras are tested, motion detection zones are set (so a tree branch blowing doesn’t trigger alerts), and notification settings are customized to your phone.
- Training: You receive a walkthrough of the app or control panel, how to access footage, and how to adjust settings. Ask for written instructions or a quick video tutorial for later reference.
After installation, allocate 1–2 weeks for the system to settle. Motion detection sensitivity often needs fine-tuning once you see how your yard behaves at different times of day. Professional installers often include a follow-up call or email check-in: use this to flag any issues. Real homeowners discover that the camera aimed at the driveway also catches the neighbor’s motion-sensor light at 3 a.m., the installer can adjust zones to ignore it.
Before the technician leaves, confirm what’s covered under warranty (typically equipment for one year, labor for 90 days) and clarify the cancellation policy if you’re unhappy. Some providers lock you into contracts: others offer month-to-month monitoring. On cost, recent data shows comprehensive security camera comparisons reveal systems ranging from $600 to $3,000+ installed, plus $30–$100 monthly for monitoring. Professional services may seem pricey upfront, but they eliminate the “I installed this wrong” troubleshooting that eats weekends. For those comfortable DIY-ing, home service review platforms and tech product reviews offer detailed comparisons of specific hardware.
Conclusion
Choosing a security camera service means weighing professional monitoring against DIY flexibility, balancing upfront costs with long-term peace of mind, and matching system features to your actual home layout and concerns. Start by assessing what you’re protecting, high-value entry points get professional, wired cameras: secondary areas may work with DIY wireless options. Talk to your insurance company about discounts, get quotes from at least two providers, and ask for references from recent installations in your area. The right system becomes invisible: it works so quietly you forget it’s there until you actually need the footage.