Table of Contents
ToggleIf you’ve priced out modern security cameras, you’ve probably noticed the sting: monthly subscription fees that add up to hundreds of dollars a year. The good news? You don’t have to pay for cloud storage, alerts, or app access just to keep your home secure. Subscription-free security camera systems have matured dramatically, offering local storage, wireless reliability, and solid image quality without the recurring monthly drain on your wallet. Whether you’re protecting a single entry point or covering multiple angles around your property, there’s now a practical path forward that doesn’t require signing up for another SaaS subscription.
Key Takeaways
- A subscription-free security camera system eliminates recurring monthly fees of $10–$30 per camera, potentially saving $600–$1,800 over five years while keeping video footage stored locally on your network.
- Local storage options like NVRs with hardwired cameras offer 8–16 camera capacity and 30–90 days of footage retention, while wireless systems with microSD cards provide easier DIY installation for single-entry protection.
- Motion detection and person detection should work locally without cloud dependency to ensure privacy, low-latency alerts, and continuous security even during internet outages.
- Wired systems require cable planning and proper electrical separation, while wireless cameras need strong Wi-Fi signal (-60 dBm or better) and high-endurance storage cards designed for surveillance.
- Securing your network with strong passwords, two-factor authentication, and isolated Wi-Fi networks (or VLANs) is essential to prevent compromised cameras from accessing personal devices or data.
Why Skip the Subscription Model?
The subscription model works great for the companies running the cameras, not so much for your annual budget. A typical cloud-based security system runs $10 to $30 per month, per camera. Over five years, that’s $600 to $1,800 in fees alone, on top of the hardware cost.
Subscription-free systems put storage and decision-making in your hands. Video footage stays on a local network-attached storage (NAS) device, a hard drive connected to your router, or embedded microSD cards in the cameras themselves. You own the recordings, control the retention period, and never wonder if your service is being phased out.
The practical appeal is real: no dependency on a cloud company’s terms of service, no surprise outages affecting your home’s security, and no nagging to upgrade to “premium” alerts. You’ll still get motion detection and smartphone notifications, but the setup doesn’t require paying monthly rent on features you likely only need occasionally.
There’s also a privacy angle. If you’re uncomfortable with footage living on someone else’s servers (but secure they claim to be), local storage keeps everything under your roof. Combined with solid network security on your home Wi-Fi, you maintain complete control over who sees what.
Types of Subscription-Free Security Cameras
Local Storage Options
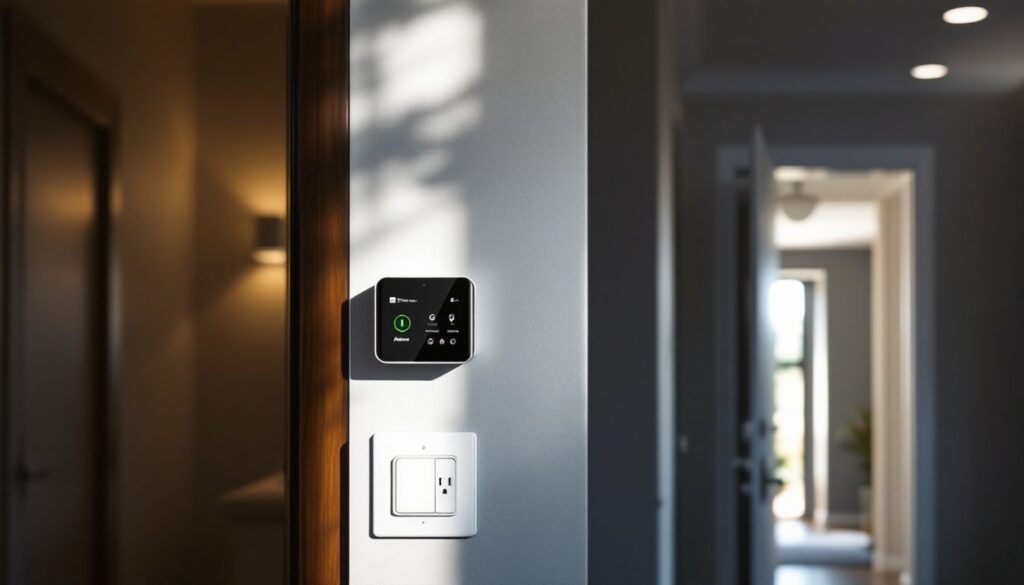
Local storage cameras record directly to a hard drive, NAS device, or microSD card installed in the camera itself. A network video recorder (NVR) or digital video recorder (DVR) sits in your home, usually a small black box tucked into a closet, and manages all the recording, playback, and motion alerts.
These systems are workhorses. You typically get 8 to 16 wired cameras on a single NVR, with storage capacities ranging from 1 TB to 4 TB or more. Footage retention depends on resolution and frame rate: a 4 TB drive might hold 30 to 90 days of continuous recording at 1080p or 4K. Products from brands like Hikvision, Uniview, and Dahua dominate this category, and many integrate with Home Assistant or other open-source smart home platforms.
The catch: wired systems require running ethernet and power cables to each camera location. If you’re retrofitting an existing home, that can mean fishing cables through walls, drilling holes, and making a mess. New construction or a basement renovation? Easier to plan. For existing homes, wireless alternatives offer more flexibility.
Cloud-Independent Wireless Systems
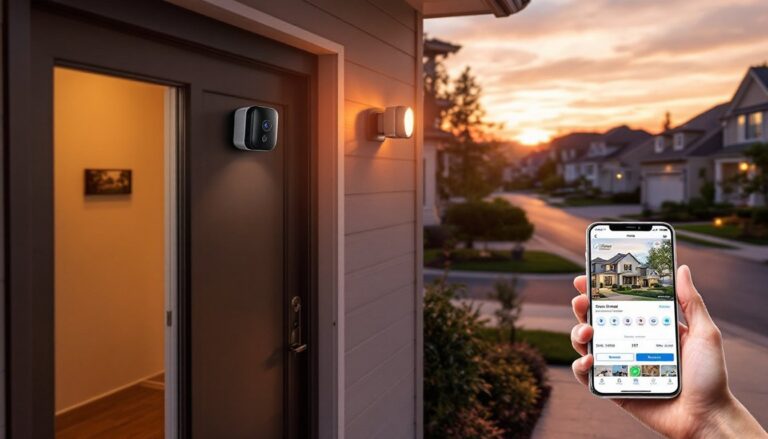
Wireless cameras with local storage sidestep the cable-run headache. They run on Wi-Fi and battery power, storing footage to an internal microSD card, a local hub, or a small NAS device you keep on your network. Brands like Wyze, Reolink, and Eufy offer solid 1080p to 4K options that don’t require a subscription for basic motion detection or playback.
The trade-off: wireless systems don’t have the massive storage or multi-camera scalability of wired NVRs. A single camera might hold 7 to 30 days of footage depending on the microSD card capacity and settings. But for covering a front door, garage, or side yard, they’re practical and easy to install yourself.
Key Features to Look For
Resolution and low-light performance matter more than you’d think. A 1080p camera gives passable detail for detecting motion, but 2K or 4K makes facial recognition and license plate reads realistic. Don’t pay extra for specs you won’t use, but understand that you get what you pay for. Night vision using infrared LEDs is standard: verify the coverage distance (typically 20 to 100 feet) matches your property.
Motion detection and person detection should work locally, meaning the camera or hub processes video without needing to phone home to the cloud. This keeps latency low, preserves privacy, and ensures alerts work even if your internet drops. Some systems use AI to ignore animals and passing cars: that’s a genuine convenience, though basic motion detection handles most scenarios.
Playback and search become critical once you’re sitting on weeks of footage. Can you jump to specific times, filter by motion zones, or search clips? Clunky interfaces waste time when you need to find that moment from three weeks ago.
Expandability matters if you’re starting small. A wired NVR should let you add cameras down the road: wireless systems should allow multiple hubs or extend microSD capacity. Check whether the manufacturer plans to discontinue the model, dead-end products leave you stranded when hardware fails.
Examine independent reviews on Tom’s Guide and CNET to compare real-world footage quality and feature execution. Specs on a website don’t always match real-world reliability.
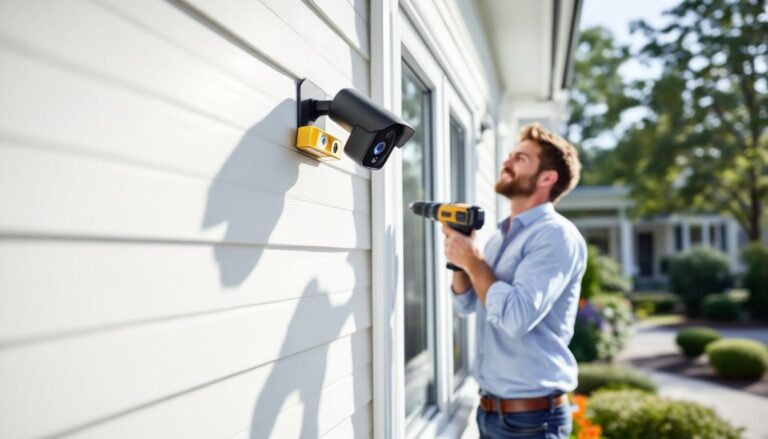
Installation Tips for DIY Setup
Planning the layout is step one. Walk your property and mark camera positions, entrances, windows, blind corners, and driveways. Consider sun glare (a camera facing west will struggle at sunset), distance to your Wi-Fi router (wireless cameras need solid signal strength), and whether you’re dealing with wired or wireless.
For wired systems, plan your cable runs before cutting walls. Ethernet and power can run together in the same conduit, but keep them away from high-voltage wiring (check local electrical code). If you’re uncomfortable fishing cables through walls, hire an electrician or low-voltage contractor for that portion, this isn’t where you save money by trial and error.
Wireless camera placement is more forgiving but still requires thought. Mount cameras 8 to 10 feet high for better angle and weather protection. Avoid direct rain spray on the lens: an eave or slight overhang helps. Test Wi-Fi signal strength at each location using your phone’s Wi-Fi scanner app, aim for -60 dBm or stronger. If signal is weaker, consider a mesh Wi-Fi extender or switching to a 2.4 GHz band (which travels farther than 5 GHz, though at slower speed).
Storage setup depends on your system type. For a wired NVR, the hard drive is built in: just install it in a climate-controlled closet or equipment area. For wireless systems with microSD, buy high-endurance cards rated for surveillance (like Samsung 970 EVO Plus or Kingston Industrial) instead of generic cards, they’re designed for constant writes and last longer. For NAS storage, a basic 2-bay QNAP or Synology device costs $200 to $400 and handles footage from a few wireless cameras without breaking a sweat.
Network security is non-negotiable. Use a strong admin password on your NVR or hub, enable two-factor authentication if available, and isolate cameras on a separate Wi-Fi network (or VLAN) from your personal devices if your router supports it. This prevents a compromised camera from accessing your family photos or banking devices. Change default credentials immediately, this is not optional.
For guidance on tool selection and seasonal preparation, Today’s Homeowner offers comprehensive homeowner advice including tech setup. Also consider whether your wireless cameras need weatherproofing or additional mounting hardware: budget a few dollars for stainless steel fasteners and cable clips to prevent rust and keep cabling neat.
Conclusion
Subscription-free security cameras aren’t a niche anymore, they’re a solid, cost-effective path for homeowners who want to skip the monthly fees. Whether you choose a wired NVR for comprehensive coverage or wireless cameras with local storage for flexibility, the setup is within reach for a confident DIYer. Plan your layout, invest in decent hardware, and lock down your network. Your home’s protected, your wallet stays full, and you’re not funding another cloud subscription.