Table of Contents
ToggleHome security doesn’t have to mean blind spots and constant gaps in coverage. Dual lens security cameras have transformed how homeowners protect their properties, offering a smart solution that watches more with less. Unlike traditional single-lens setups, these systems use two cameras working in tandem, or a single device with dual lenses, to eliminate the coverage dead zones that leave properties vulnerable. Whether you’re securing a sprawling backyard, monitoring a dark entryway, or just want peace of mind when you’re away, understanding dual lens technology helps you pick the right system for your home. This guide walks you through what these cameras do, why they matter, and how to choose and install one that actually fits your needs.
Key Takeaways
- Dual lens security cameras eliminate coverage blind spots by combining a wide-angle lens with a telephoto lens, allowing you to see both the full scene and fine details simultaneously from a single unit.
- Dual lens technology excels in low-light and night vision scenarios because each lens can be optimized independently, with infrared or active night vision delivering clear footage in darkness.
- To choose the right dual lens camera, assess your coverage zones, measure distances to key areas (driveway, entryways, backyard), and ensure your internet upload speed is at least 5 Mbps for smooth streaming.
- Installation requires planning cable runs and mounting height at 8–10 feet for optimal facial recognition, with a 15–20° downward tilt to prevent glare and water pooling.
- Video resolution (1080p for detection, 2K or 4K for identification) and storage options (cloud subscriptions, local SD cards, or NVR systems) should align with your budget and security needs.
- Secure your dual lens camera immediately after setup by changing default passwords, enabling two-factor authentication, and updating firmware regularly to protect against vulnerabilities.
What Are Dual Lens Security Cameras and How Do They Work?
A dual lens security camera uses two optical sensors to capture different views simultaneously, typically a wide-angle lens and a telephoto or narrow-angle lens. Some models combine both lenses into a single turret or compact housing: others use two separate camera units networked together. The wide lens captures a broad field of view (often 160° or more), while the telephoto lens zooms in on details within that zone, all without moving parts or losing image quality from digital zoom.
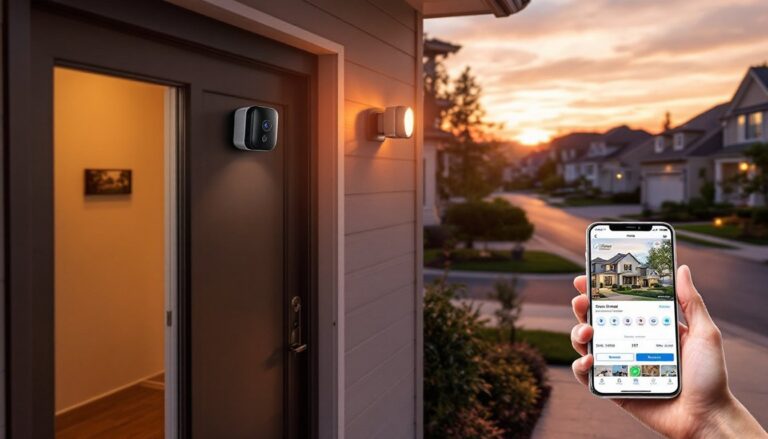
The two feeds merge into a single display or split-screen interface on your phone or computer. This means you see the overall scene and fine details at the same time. If motion triggers near your garage, you don’t just know something’s there, you see it up close. The processing happens locally on the camera or through cloud storage, depending on your setup. Models like the TP-Link Tapo HybridCam Duo exemplify this dual-approach design, offering both breadth and zoom in a single device.
Most dual lens cameras run on Wi-Fi or wired Ethernet connections. Power options vary, some plug into standard outlets, others run on batteries or solar panels, and hardwired versions tie into your home’s electrical system. Video storage typically goes to a local SD card, a network video recorder (NVR), or cloud subscription services. The camera’s processor handles video compression, motion detection, and often AI-powered object recognition (telling the difference between a delivery person and a stray cat).
Key Benefits of Dual Lens Technology for Home Security
Enhanced Field of View and Coverage
The biggest win with dual lens setups is coverage without compromise. A single wide-angle camera might see your driveway but miss detail when someone approaches the door. Dual lens systems handle both, the wide lens catches the full scene, the telephoto reads a license plate or face from 30 feet away. This cuts the number of cameras you need to cover the same area, saving money on equipment, wiring, and cloud storage tiers.
You also eliminate the “where is the motion?” problem. On a traditional single-camera feed, motion detected at the edge of frame can be hard to pinpoint. With dual lenses, the telephoto zooms to wherever the wide lens detected movement, giving you instant context. Mounting becomes easier, too, you can cover a corner or an entire side of your house with one unit instead of two or three.
Improved Night Vision and Low-Light Performance
Dual sensor setups excel in darkness because each lens can be optimized separately. The wide lens might use a larger aperture to gather more light, while the telephoto uses a smaller one for sharpness and detail. Modern dual lens cameras pair this with infrared LEDs or active night vision (colored low-light modes), giving you clear footage whether it’s pitch-black or just dusk.
The telephoto lens shines here: zoomed-in feeds often capture better facial detail in low light than a single camera ever could, because the light gets concentrated on a smaller sensor area. If your property is mostly unlit at night, and whose isn’t?, dual lens technology keeps your blind spots from becoming security liabilities. Many units now offer smart home technology reviews that highlight infrared range and low-light specs, so you can compare real-world performance before buying.
Choosing the Right Dual Lens Camera for Your Home
Start by mapping your coverage needs. Walk your property at different times, early morning, evening, night, and mark the zones you care most about: entry points, driveway, backyard, porch. Measure distances from where you’d mount the camera to these zones: telephoto lenses vary in magnification (2× to 8× optical zoom is common). A 2× telephoto works fine for a 30-foot driveway: a 4× or 6× is better if you need to read detail at 50+ feet.
Consider your internet setup. Dual lens cameras eat bandwidth, especially at high resolution (2K or 4K). Check your upload speed, streaming 1080p dual feeds smoothly typically needs at least 5 Mbps upload speed. If you’re on spotty Wi-Fi, a wired Ethernet camera or a local NVR that doesn’t require constant cloud connection becomes practical.
Video resolution matters: 1080p suffices for motion detection and general identification: 2K or 4K helps identify faces and license plates. Factor in storage. Cloud subscriptions run $5–$15 per month per camera: local SD card storage (up to 512GB) costs less upfront but requires manual offloading. An NVR system with a dedicated hard drive offers a middle ground: no subscription, instant local replay, scalable to many cameras.
Look at night vision range and type. Infrared (IR) gives grayscale footage 50–100 feet out: active night vision (colored, LED-lit low-light) shows color but shorter range. Neither’s “better”, IR is invisible to humans and uses less power: active NV shows color and is harder to blind with spotlights. Check reviews on reputable sites like CNET for real-world night vision performance, not just spec sheets.
Finally, confirm ease of setup. Most Wi-Fi cameras need only power and your network password. Wired systems require fishing cables through walls and possibly drilling through siding, doable for DIY, but not trivial. Some systems (like Lorex offerings) integrate with Lorex Smart Home Security for centralized control across multiple cameras and sensors, which simplifies management if you’re expanding later.
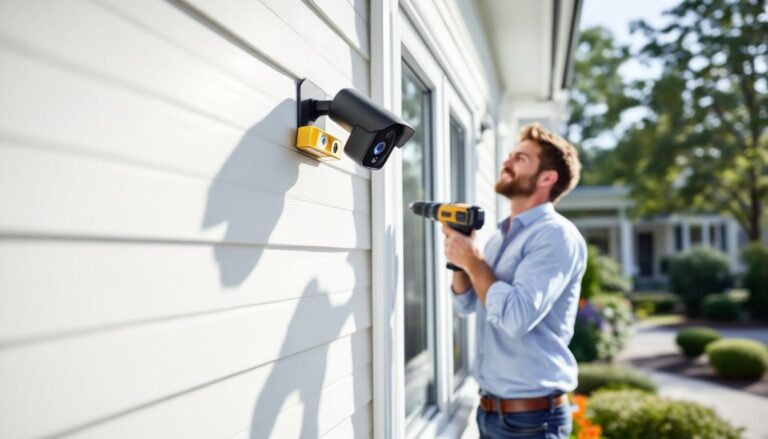
Installation and Setup Tips for DIY Homeowners
Before you mount anything, plan your cable runs. If you’re going wireless, you still need power, either an outlet nearby, a solar panel mount, or batteries. If hardwired, trace a path from your power source and network hub to the camera location, accounting for walls, siding, and conduit. Measure twice: it saves a redo.
Choose a mount height and angle. Cameras at 8–10 feet catch faces better than those at 15+ feet: aim the wide lens slightly downward so it frames doorways and pathways at eye level. Mount the camera clear of overhanging branches, exterior lights, and direct sun, sunlight bleaching the lens kills image quality. A slight downward tilt (15–20°) prevents glare and keeps rain from pooling on the lens cover.
For wireless models: Most come with a plug-and-play power cable and magnetic or adhesive mounts. Skip the adhesive if your surface is textured or weathered: use a drill and two ¼-inch stainless steel screws into masonry or wood studs. Mark your holes, drill a pilot hole, and use plastic wall anchors if hitting drywall. A cordless drill or impact driver makes this quick: hand screwing is tedious but doable.
For hardwired systems: You’ll need to run low-voltage cable (typically 18/2 or 22/2 gauge) from your recorder or power supply to the camera. Use conduit (PVC or metal) outdoors to protect the cable from UV, animals, and damage. A fish tape helps pull cable through existing conduit: if running new cable, consider hiring an electrician for the initial rough-in, your future self will thank you.
First power-up: Connect the camera to your Wi-Fi through its app. You’ll get a QR code from the camera: scan it, choose your network, and enter your password. The app walks you through live view, motion detection settings, and cloud or local storage options. Test the feeds before assuming it’s done. Check both lenses in daylight and at dusk. Walk in front of the camera to confirm motion detection triggers. Review a night-time clip to ensure IR or active night vision is working.
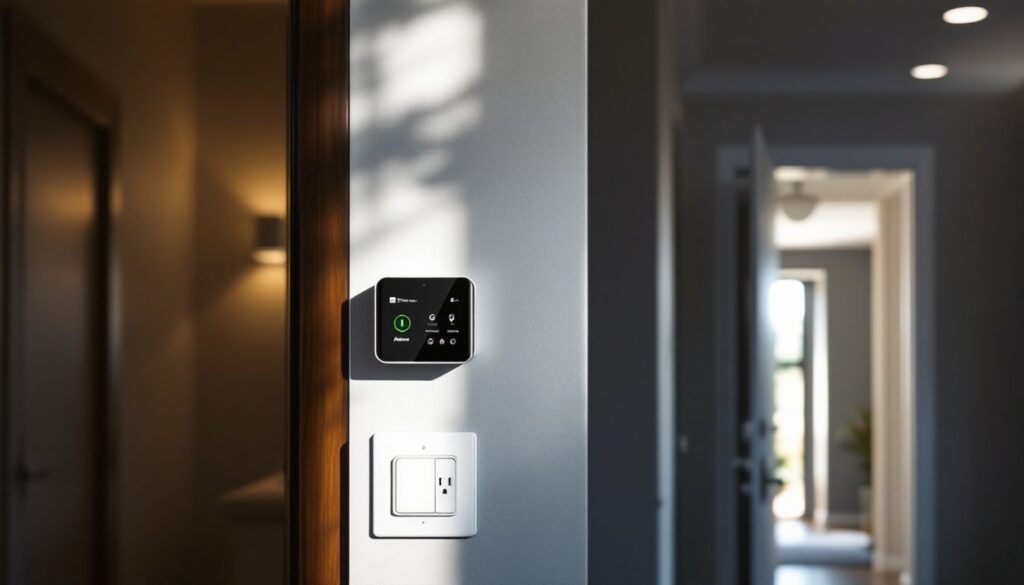
Security matters: Change the default admin password immediately. Use a strong password (16+ characters, mix of letters/numbers/symbols) even if the app doesn’t nag you. Enable two-factor authentication if available. Update firmware when prompts appear, these patches fix vulnerabilities. Don’t expose your camera feed on open Wi-Fi networks or public URLs.
Conclusion
Dual lens security cameras fill a gap that single cameras leave wide open. They’re not luxury, they’re practical. You get the breadth to spot trouble and the zoom to identify it, all from one compact unit. Whether you’re protecting a small urban townhouse or a sprawling suburban lot, the right dual lens system cuts setup hassle and monthly costs while boosting the actual security you can see and act on. Take time to map your space, check your internet, and choose a model that fits your coverage needs and comfort level. A weekend of planning and a couple of hours of installation beats years of wishing you’d caught that detail on the original single camera.