Table of Contents
ToggleWhether you’re planning a new home security system, designing a surveillance layout for your property, or simply sketching ideas for a renovation project, knowing how to draw a security camera accurately is surprisingly useful. Homeowners often need to map out camera placement, visualize blind spots, or communicate their vision to contractors or installers. Even if you’re not an artist, this guide walks you through drawing a realistic security camera sketch that’ll help you plan your setup and understand your home’s security footprint better.
Key Takeaways
- Drawing a security camera sketch helps homeowners identify coverage gaps, plan cable runs, and visualize optimal placement before investing in equipment.
- Basic tools like pencil, eraser, ruler, and circle template are sufficient for functional security camera drawing; graph paper improves proportion accuracy.
- A dome security camera drawing starts with a 2-inch circle for the main body, a smaller circle below for the mounting base, and curved connecting lines for the taper.
- Adding lens details, highlights, cable entry points, and mounting brackets makes your security camera sketch more realistic and easier to communicate to contractors.
- Always draw the camera’s field of view as a cone extending from the lens on your floorplan—most residential domes have a 110-degree horizontal FOV—to spot blind spots.
- Digital tools like Visio or Floorplanner are useful alternatives for larger security camera layouts since they’re easier to modify and share with installers.
Why Sketching Security Camera Designs Matters For Your Home
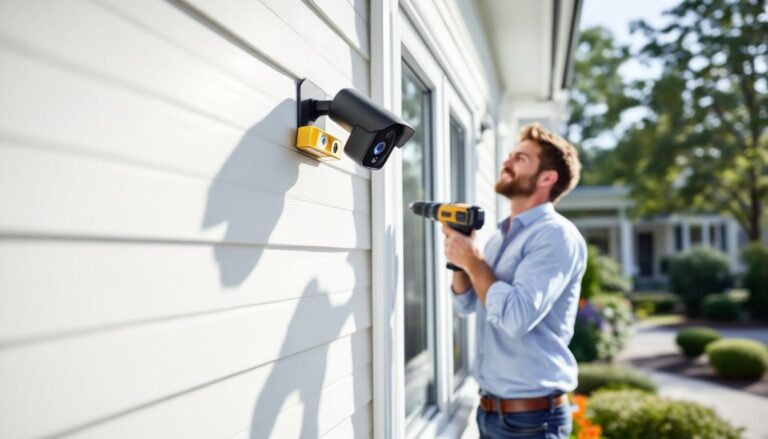
Before you grab a pencil, understand why this skill matters. Sketching your security camera placement forces you to think through your property’s layout in detail. You’ll spot coverage gaps, identify optimal mounting heights, and plan cable runs before drilling holes or investing in equipment.
A rough sketch communicates better than words when working with installers or contractors. Instead of describing “something near the front porch,” you show exactly where you want the camera, including angles and potential obstructions like tree branches or glare from windows. This clarity saves time and money.
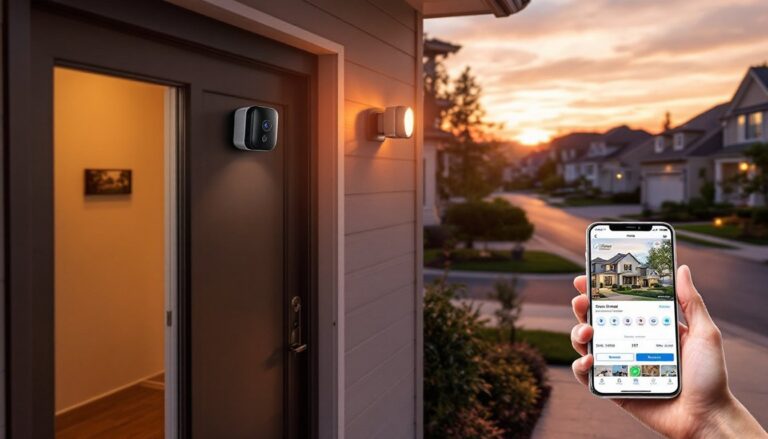
Sketching also helps you understand camera field of view (FOV). Most residential cameras have a 100 to 130-degree lens, which is wider than you’d think. Drawing this angle on your home’s floorplan shows you whether one camera covers your driveway or if you need two. Modern security camera technology has evolved rapidly, and knowing your specific layout helps you choose the right models for your needs.
Essential Tools And Materials For Drawing Security Cameras
You don’t need fancy art supplies, this is functional sketching, not fine art. Keep your materials simple and practical.
Basic Drawing Supplies You’ll Need
• Pencil (HB or 2B graphite) – Soft enough to erase, hard enough for clean lines. Standard mechanical or wooden pencils work equally well.
• Eraser – A kneaded eraser is gentler on paper than a rubber eraser and works great for light corrections.
• Ruler or straightedge – At least 12 inches long. A metal ruler won’t dull as easily as plastic.
• Compass or circle template – For drawing the dome shape. A cheap plastic template costs a dollar or two.
• Paper – Standard printer paper works fine for sketches. Graph paper helps with proportion and angles.
• Sharpener – Keep your pencil point crisp for clean detail lines.
Optional Tools To Enhance Your Sketches
• Protractor – Useful for marking exact camera angles and field-of-view cones.
• Fine-tip markers or ink pens – For finalizing sketches or adding labels that won’t smudge.
• Colored pencils – Helps distinguish different camera types (dome, bullet, turret) or priority zones.
• Drafting tape – Holds paper steady without damaging it.
• Tracing paper – Lets you overlay camera placement on existing house plans or floorplans.
If you’re working on a larger scale drawing of your whole home layout, consider using digital tools like free versions of Visio, Floorplanner, or even Google Sheets with grid cells. Digital sketches are easier to modify and share with contractors.
Drawing A Dome Security Camera: Step-By-Step Instructions
The dome camera is the most common residential type. It’s compact, weatherproof, and sits flush against a ceiling or overhang. Here’s how to draw one that looks realistic and helps you visualize placement.
Creating The Basic Dome Structure
- Start with a circle. Using your compass or template, draw a circle about 2 inches in diameter. This represents the dome’s main body.
- Add a horizontal line through the center. This is your baseline, it keeps proportions balanced.
- Draw a smaller circle below the first one. This is the mounting base. Make it about half the diameter of the dome, centered directly below.
- Connect the dome to the base with two slightly curved lines on either side. These show the dome’s slight taper where it meets the mount. Keep the lines smooth and symmetrical.
- Sketch a very subtle vertical line down the center of the dome. This suggests the camera’s lens direction and helps viewers understand which way it’s facing.
Your basic dome shape is done. At this stage, it should look like a smooth, rounded form sitting on a stubby base, nothing fancy, just the silhouette.
Adding Details And Finishing Touches
- Draw the lens inside the dome. Near the front (top) of the dome, sketch a small circle about ¾ inch in diameter. This represents the camera lens. Add a darker ring around it to show depth, the actual glass lens sits back inside the dome housing.
- Add a tiny highlight on the lens. A small white or light circle on the upper left of the lens makes it look three-dimensional and glass-like.
- Sketch a subtle line where the dome meets the base. A thin horizontal line between the dome and the mounting base shows the seam and adds realism.
- Mark the cable entry point. On the back or bottom of the base, draw a small rectangular notch or tiny exit point. This is where the power and data cables run.
- Add mounting bracket details (optional). If you want more realism, sketch a thin bracket arm connecting the base to your surface (wall, ceiling, eave). Make it simple, just two parallel lines at an angle, with a small rectangle where it fastens.
- Label your sketch. Write “Dome Camera” or “1080p Dome” nearby. If you’re drawing multiple cameras, number them (Camera 1, Camera 2, etc.).
When sketching cameras on a floorplan, also draw a cone or wedge shape extending from the lens to show the camera’s field of view. This instantly shows you what the camera sees and whether you have coverage gaps. Most residential domes have a 110-degree horizontal FOV, so your cone should angle about 55 degrees on each side of the camera’s centerline.