Table of Contents
ToggleA floodlight security camera is one of the smartest investments you can make to protect your home and deter unwanted activity. Unlike standard security cameras, these units combine powerful LED lighting with video surveillance, so you get visibility and documentation rolled into one fixture. Whether you’re monitoring a driveway, backyard, or entryway, the right floodlight camera offers peace of mind, and the specs matter more than you might think. This guide walks you through what to look for, which models hold up to real-world conditions, and how to install and optimize one for your space.
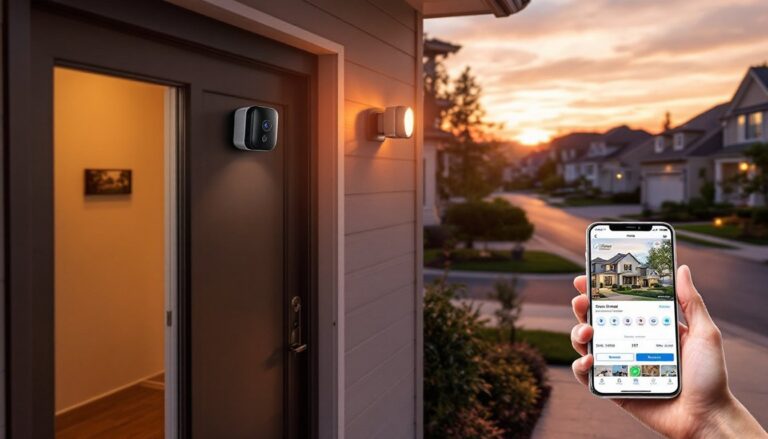
Key Takeaways
- A best flood light security camera combines powerful LED lighting with video surveillance to provide both visibility and documentation, making it essential for protecting driveways, backyards, and entryways.
- Look for at least 1080p resolution, IP65 weatherproofing or higher, responsive motion detection with customizable zones, and wide field of view (100°–180°) when selecting a floodlight security camera.
- Choose your power setup carefully: hardwired 120V offers reliability but requires professional installation, PoE eliminates Wi-Fi dropouts with a single cable, and battery-powered options provide flexibility for temporary or difficult-to-wire locations.
- Popular models like Reolink PoE (2K, 180°, no subscription), Wyze Floodlight Pro (budget-friendly, Wi-Fi plug-and-play), and Lowell Floodlight (1440p with local hub storage) balance cost, build quality, and features for different priorities.
- Optimize performance by positioning your camera to capture entry points, setting up motion detection zones to avoid false alerts, tuning night vision settings, and maintaining the lens and fasteners monthly for year-round reliability.
- Proper mounting at a 15–20° downward angle, using customizable motion zones to exclude irrelevant movement, and scheduling floodlight activation can significantly reduce false alerts while maximizing surveillance coverage and battery efficiency.
What Makes a Great Floodlight Security Camera
Key Features to Look For
A solid floodlight camera isn’t just a light with a camera bolted on, it’s a system designed to work together. Resolution matters: you want at least 1080p (full HD), but 2K or 4K cameras deliver sharper detail if you need to identify faces or license plates. Low-light performance is critical, so look for infrared night vision or color night vision (which uses the floodlight to capture color footage even in darkness).
Field of view affects how much ground you cover. Most floodlight cameras range from 100° to 180°, and wider is usually better, but check the specs, because a 100° view at a narrow focal length won’t catch as much as advertised. Motion detection should be responsive and adjustable: you don’t want alerts every time a leaf blows past. Smart zones let you ignore certain areas (like a street or neighbor’s property) and focus on what matters.
Weatherproofing is non-negotiable. Look for IP65 ratings or higher: this means the unit shrugs off rain, dust, and temperature swings. Your floodlight camera will sit outside year-round, so cheap weatherproofing leads to corrosion and dead units by season three.
Cloud storage vs. local storage is a trade-off. Cloud plans offer convenience and backup but cost money each month: local storage (SD card or networked drive) is private and one-time. Many homeowners use both, local for quick clip retrieval, cloud for critical evidence. Two-way audio lets you speak through the camera: it’s handy for warning off package thieves or communicating with family.
Integration with your existing smart home setup matters if you already use Alexa, Google Home, or Apple HomeKit. A camera that plays nice with your ecosystem feels less like a chore to manage.
Top Floodlight Security Cameras for Home Protection
Choosing a specific model depends on your budget, power setup, and feature priorities. Models like the Reolink PoE Floodlight Camera, Wyze Floodlight Pro, and Lowell Floodlight with Smart Hub are solid choices that balance cost, build quality, and features.
The Reolink PoE Floodlight shines if you’re willing to run Ethernet and want no subscription cloud storage, footage stays on your local NVR, fully under your control. It delivers 2K resolution, 180° viewing angle, and dual spotlights that create genuinely bright white-light night vision. Setup is straightforward if you’ve got Ethernet run to the location: if not, running cable is the biggest hurdle.
The Wyze Floodlight Pro appeals to renters and budget-conscious DIYers because it’s plug-and-play with Wi-Fi, costs less upfront, and works with existing Wyze ecosystems. 1080p isn’t cutting-edge, but it’s legible, and the dual floodlights are bright enough for most residential driveways. You’ll pay for cloud storage unless you add a local microSD card.
The Lowell Floodlight (with its included Smart Hub) offers a middle ground: 1440p resolution, 180° view, and color night vision. It uses Wi-Fi but includes robust local recording via the hub, so you’re not locked into a subscription. This is worth considering if you value privacy and want to avoid recurring fees.
Each model has trade-offs. PoE systems are more professional and reliable but require cable runs. Wi-Fi models are easier to install but depend on signal strength. All three are weatherproof and designed to handle years of outdoor use. Your choice depends on your power infrastructure, technical comfort level, and whether you prefer paying upfront or monthly.
Installation and Setup Considerations
Wiring and Power Options
Floodlight cameras need power, and how you deliver it shapes your entire installation. There are three common setups: hardwired (120V AC), PoE (Power over Ethernet), and battery-powered.
Hardwired 120V is the industry standard for permanent outdoor fixtures. You’ll run a 14-gauge or 12-gauge wire from your breaker panel (or a dedicated outlet) to the camera location. Hardwired cameras never need charging, work reliably in all weather, and don’t drop signal during Wi-Fi congestion. The downside: you need electrical knowledge or a licensed electrician. Running power outdoors requires weatherproof conduit and GFCI protection, your local electrical code will specify exactly what’s needed, and some jurisdictions require permits. If you’re not confident with 120V wiring, hire an electrician: it’s not expensive (usually $150–$400 for a run) and eliminates risk.
PoE (Power over Ethernet) sends both data and power through one Ethernet cable. This is clean and reliable, one cable does everything. You’ll need to run Cat5e or Cat6 Ethernet cable from a PoE switch or injector to the camera. PoE systems eliminate Wi-Fi dropouts and offer faster response times. The catch: running cable through walls or conduit takes planning, and you need a PoE-compatible switch or injector at the source.
Battery-powered cameras are the easiest to install, just mount and charge. Batteries last weeks to months depending on motion activity and floodlight use. The trade-off is maintenance: you’ll swap or recharge batteries regularly. They’re ideal for temporary setups or locations where running wire isn’t practical.
Before you pick a model, check your power situation. Do you have an outlet near the camera location? Can you run Ethernet? Would batteries suit your maintenance habits? The right power choice saves headaches later.
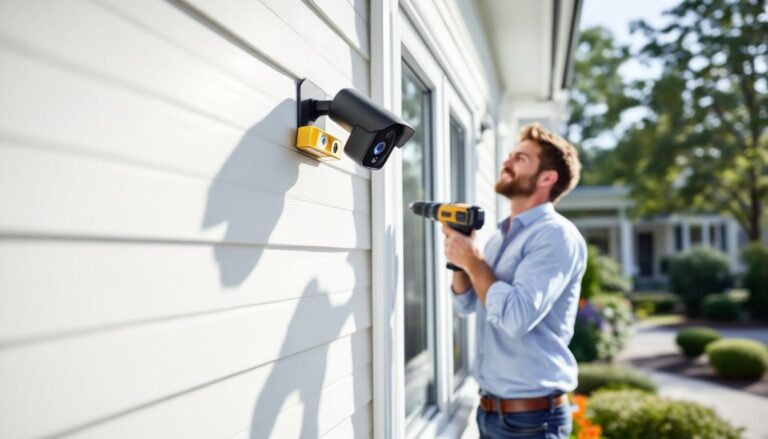
Mount securely using lag bolts or power-rated anchors rated for your wall type, concrete, wood siding, or vinyl all need the right fastener. Most floodlight cameras weigh 1–2 pounds, but wind and vibration will loosen a cheap mount. Aim the camera down slightly (15–20° below horizontal) to reduce glare and improve subject capture, and avoid aiming directly into streetlights or sunsets, which wash out the image.
How to Maximize Your Floodlight Camera’s Performance
Once your camera is mounted and powered, a few tweaks yield better footage and fewer false alerts.
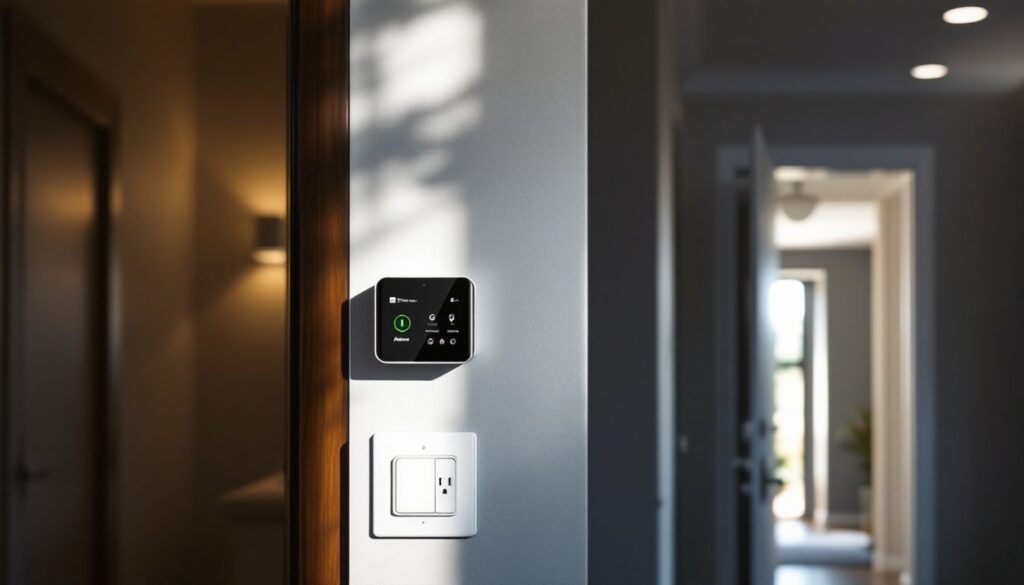
Positioning and angle are foundational. The Lorex Smart Home Security Center demonstrates how proper placement amplifies coverage, point your camera at entry points or high-value zones, not at blank walls or driveways that empty into streets. Avoid back-lit scenes (like a doorway with bright outdoor light behind it): they silhouette subjects and ruin facial detail.
Motion zones prevent alert fatigue. Set up a zone that excludes tree branches, passing traffic, or weather motion. This keeps your phone from buzzing every time wind tosses a shrub. Most cameras let you draw custom zones on the live view, use them.
Night vision tuning matters. If your camera offers color night vision, enable the floodlight on a schedule (e.g., only during late evening hours) to save power and let neighbors sleep. Some cameras let you dim the light at certain times: use this if you’re setting up in a backyard shared with a bedroom window. Infrared night vision is silent and doesn’t announce the camera to visitors, making it a good default when white-light is overkill.
Frame rate and resolution affect storage. Higher resolution and frame rate eat bandwidth and storage faster. For most homes, 1080p at 15–20 fps (frames per second) is a sweet spot between detail and file size. Bump it to 30 fps or 2K if you expect fast motion (like traffic identification) but be ready to manage storage.
Independent reviews and product testing from CNET show that cameras with adjustable detection sensitivity catch real threats while ignoring false positives. Start with sensitivity at 50–60% and refine based on what you see.
Regular maintenance is overlooked but critical. Check the lens monthly for dirt, dust, or spider webs, a dusty lens reads as motion blur. Wipe gently with a microfiber cloth. In winter, clear ice or snow from the floodlight. Check mounts and fasteners twice a year: outdoor vibration loosens things over time. Firmware updates from the manufacturer often improve performance and security, enable auto-updates or check quarterly for patches.
Homeowners who test different settings and review tested recommendations from Good Housekeeping adapt their cameras to seasonal changes. Summer glare, winter low-angle sun, and seasonal vegetation all affect image quality, small adjustments keep your footage useful year-round.
Conclusion
A floodlight security camera is a practical upgrade that deters theft, documents incidents, and gives you real visibility into what happens around your home. Spend time understanding your power options and choosing a model that fits your tech comfort level and budget. Installation is straightforward if you plan the power run carefully, and maintenance is minimal if you check the lens and fasteners regularly. With the right setup and a few tuning steps, your floodlight camera will deliver years of reliable protection.